Guides
Silversmithing foundations guide: design, metal, tools, sequence, and records
Silversmithing foundations guide covering bench decisions from drawing to hallmark, with tool choices, joining order, finishing and records.
What to take away
- Draw the piece at finished size, then add cut allowance for every operation that removes metal.
- Record alloy, temper and stock form before the first saw cut; unknown metal never goes near a torch.
- Sequence mattersfiling, annealing and pickling each change dimensions the next stage depends on.
- Local exhaust at the bench, not a fan across the face, is the control that matters for fumes and dust.
- Log solder grade, heat order, finish grit and final measurements so a repair years later is possible.
This silversmithing foundations guide covers controlled removal, deformation, joining and finishing. A cuff may be sawn, filed, annealed and formed in one afternoon. It may then be soldered, pickled, textured, set and polished.
Order decides the result. A later stage can erase texture, distort a fit, soften a spring or close off access to a seam.
Draw the object before you cut metal
A measured drawing at finished size is the first bench tool. Mark datums and centerlines, then add allowance for each operation that removes stock: saw kerf, file cut, seam cleanup, abrasive stages. Saw kerf equals the blade width; measure the blade and add that to every internal cut. File allowance is the metal you remove to true an edge; test on scrap.

A tapered cuff needs its blank cut wider than the finished form, because forming stretches the metal and filing takes the edge back. Cut to the finished dimension and the cuff closes short.
Write the alloy, thickness, temper and stock form on the drawing. The V&A's guide to metalworking techniques separates forming, assembling and decorating processes, which is the same split a process sheet uses.
Match the operation to the tool
Tool choice follows the cut, not the catalogue. A 4/0 blade suits a 0.8 mm sheet curve; a 2/0 blade on the same line wanders and work-hardens the edge.
| Operation | Bench decision | What to record |
|---|---|---|
| Layout | Datum, centerline, cut allowance | Marked drawing and revision |
| Sawing | Blade size, bench pin support, cut plan | Blade grade and kerf |
| Filing | Cut grade, safe edge, draw direction | File number and finish |
| Annealing | Alloy procedure, quench, pickle | Heat order and colour check |
| Forming | Stake or mandrel, hammer face, direction | Measurements after each pass |
| Joining | Joint fit, solder grade, heat order | Solder lot and joint list |
| Finishing | Abrasive sequence, compound, wheel | Grit and finish code |
Ownership is not competence. A rolling mill, polishing motor or torch needs instruction, guarding and inspection before it earns bench space.
A beginner's bench starts with: a saw frame and 4/0 blades, a bench pin, a set of needle files (cut 0, 2, 4), a steel rule, a scribe, a torch with the correct tip for the work, a fireproof soldering surface, a pickle pot, a brass brush, and a polishing motor with separate wheels. Add a rolling mill, mandrels and stakes only when a project calls for them.
Read the metal before you heat it
Silver alloys differ in hardness, melting range, oxidation and how they take a polish. Sterling, fine silver and the various sterling substitutes behave differently under the same torch.
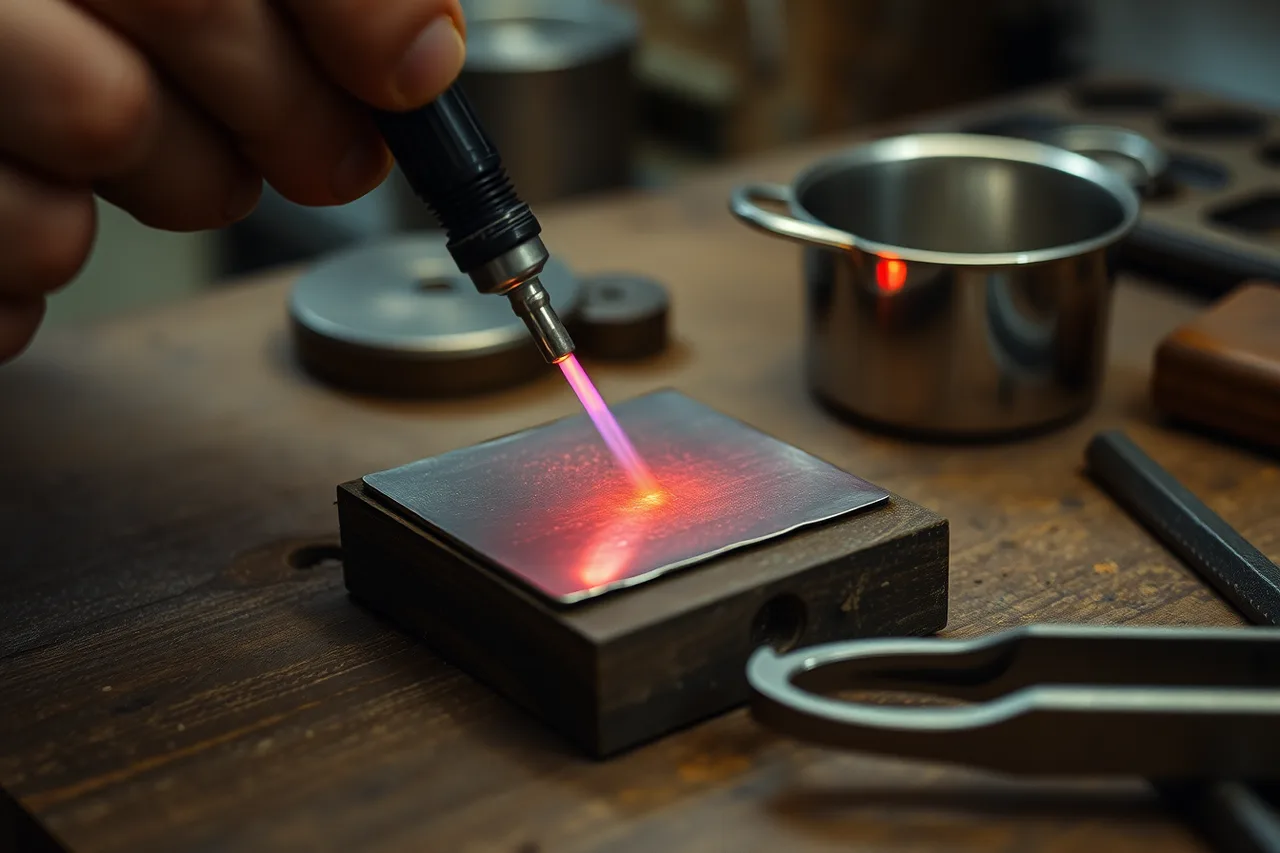
Cold work accumulates as sheet is rolled, bent, hammered or drawn. Annealing restores formability, but it also moves soldered joints, softens springs and changes surface colour.
Silver anneals when it glows a dull red in dim light; quench it in water. Fine silver and sterling reach that colour at different temperatures, so check the alloy supplier's datasheet for the specific alloy. Judging temperature by colour in bright light is how a piece reaches its eutectic and collapses.
Plated, filled or unidentified stock must be identified before heating. Coatings and base metals can fume, blister or fail a joint without warning.
Control the surface between steps
A scratch left before forming is harder to reach afterwards. Keep steel tools smooth where they touch silver. Clean the bench before laying a soft piece face down.
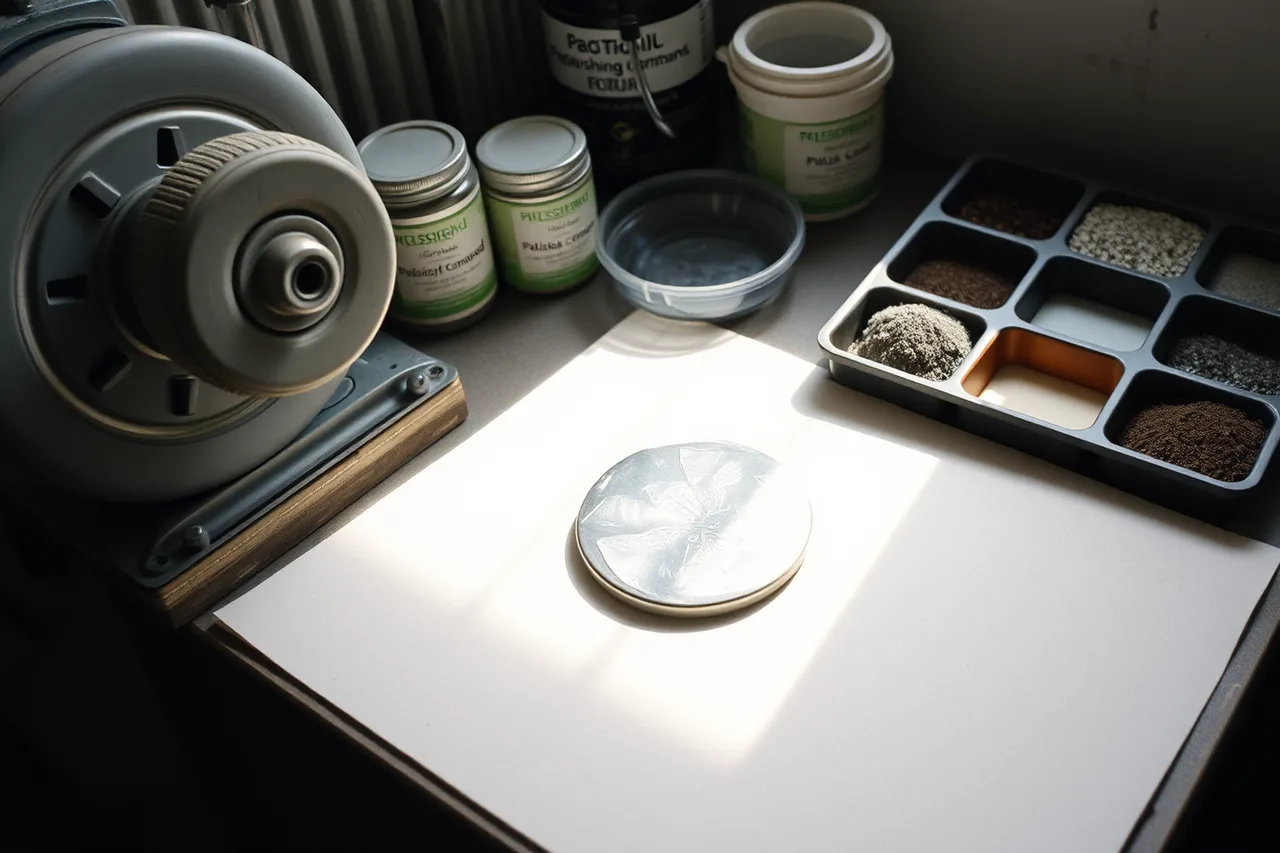
Separate abrasive grades and polishing compounds. A stray coarse grit on a finishing wheel cuts a line across a mirror finish in one pass.
Inspect under directional light after every operation and mark defects on the process sheet. Overpolishing rounds a crisp edge and removes stamped detail faster than most makers expect.
Join in the right order
Fit the joint before flux. A box seam that closes under finger pressure still needs a tight mechanical fit; solder bridges gaps, it does not fill them.
Work from the highest-melting solder to the lowest. Hard solder on the first seam, medium on the second, easy on the last. Flooded joints and porosity usually trace back to a loose fit, dirty metal or too much heat.
Pickle after each soldering stage, rinse, and dry before the next. Pickle is usually a sodium bisulfate solution; use it with local exhaust, gloves, and eye protection. Flux residue left in a seam shows up as a grey line under the final polish.
A worked sequence
Here is a worked sequence for a tapered cuff, from stock to finish:
- Draw the cuff at finished size. Mark datums and centerlines. Add saw kerf and file allowance.
- Transfer the pattern to 0.8 mm sterling sheet.
- Saw the blank with a 4/0 blade.
- File the edges true with a cut 0 or 2 file.
- Anneal the blank until it glows a dull red in dim light. Quench and pickle.
- Form the cuff over a mandrel or stake.
- Re-anneal whenever the metal stops moving easily.
- Fit the seam, flux, and solder with hard solder.
- Pickle, rinse, and dry.
- Finish with abrasives from coarse to fine.
- Polish with a separate wheel and compound.
- Record alloy, solder grade, annealing cycles, finish grits, and final dimensions.
Set the ventilation before the torch
Identify the hazard before choosing protective equipment. Metal fume, flux fumes, pickle mist, abrasive dust and noise each need their own control.
Local exhaust ventilation captures fume at the source. A fan moving air across your face does not. A dust mask does not control fire, eye or machine hazards, and it may not be a respirator.
OSHA sets the ventilation, respiratory protection and hazard communication requirements that apply to your bench. Check the equipment manufacturer's safety data sheet for every flux, pickle and compound you use.
Stop conditions
Stop the job when:
- the alloy or coating is unknown before heat or chemical treatment;
- a blade, wheel, guard, hose or regulator is damaged;
- a stone or earlier joint cannot take the planned heat;
- a crack keeps growing after the repair pass;
- dimensions fall outside the allowance you drew;
- nobody on the bench is trained for the operation.
Stopping protects the object and the worker. It is a bench decision, not a failed project.
Keep a record that survives the piece
For each piece, keep the drawing, stock source, alloy claim, and measured starting dimensions.
Also keep the solder grades, heat sequence, finish grits, deviations, and final measurements.
Example process record fields:
- Piece name and date
- Alloy and fineness (e.g., sterling 925)
- Stock form and thickness
- Starting dimensions
- Saw blade and kerf
- Annealing cycles (number and colour)
- Solder grades and joints
- Pickle time
- Finish grits
- Final dimensions
- Defects and corrections
- Maker's mark
Label offcuts by known alloy. Mixing unidentified sweep, soldered scrap and plated material ruins a refining lot and any reuse.
Records also carry the money. Time and materials, batch size, booth fees and card processing all come off the same sheet, and a repeat order is priced from it.
Common questions
Does silversmithing mean only large holloware?
No. The term covers work from jewelry-scale pieces to vessels, and most bench skills cross over. The tolerances and joints change with the object, not the label.
Which tool should a beginner buy first?
Choose after picking a supervised first project. Measuring, holding, cutting, filing, lighting and ventilation come before a long tool list. A saw frame, bench pin, files and a steel rule cover most first pieces.
Can torch work be learned from written instructions?
Written material explains principles and sequence. Fuel-gas setup, hot work and fire controls need hands-on training and the equipment maker's instructions. Your local fire authority may add requirements.
Why keep a process record for a one-off piece?
The record explains dimensions, alloy, heat history, defects and corrections. It also sets the limit for a future repair, so a later maker knows what the piece will tolerate.
In this guide
- Skills for a first silver workshop projectA practical skills-and-process plan for a first silver workshop project, covering design, tools, training, safety, scrap tests, inspection, and records.
- Silversmith, goldsmith, jeweler, and metalsmith work comparedMetalwork roles compared by object scale, material, forming, joining, stone work, repair, design, training, workshop equipment, and professional overlap.
- Silversmithing Bench Safety Checklist for Shop SetupA silversmithing bench safety checklist for shop setup, covering tool checks, hot work, chemicals, dust, ventilation, protective equipment, and stop conditions.
- Silversmithing workmanship problems: poor fit, distorted metal and heat damageSilversmithing workmanship problems diagnosed through fit, distortion, scratches, heat history, lost dimensions, controlled corrections, and stop points.
- Sterling silver pendant project case: process plan, controls, and final inspectionA fictional supervised project making one oval sterling silver pendant: design record, process plan, hazard controls, measurements, inspection and limits.