Rules
Part of Silversmithing foundations guide: design, metal, tools, sequence, and records
Silversmithing workmanship problems: poor fit, distorted metal and heat damage
Silversmithing workmanship problems diagnosed through fit, distortion, scratches, heat history, lost dimensions, controlled corrections, and stop points.
What to take away
- Diagnose from measurements, sequence, and surface evidence before removing more metal.
- Poor fit can come from layout, forming, burrs, joint geometry, or heat movement.
- Distortion must be corrected with supported, measured steps rather than random hammering.
- A scratch requires the coarsest suitable correction only where enough material remains.
- Stop when alloy, coating, crack depth, heat history, or remaining dimensions are uncertain.
Early workshop failures often share one cause: the maker corrects the visible symptom without identifying the operation that produced it. Filing a gap can make the part smaller. Polishing a deep scratch can round an edge. Heating a distorted assembly can move several joints.
Preserve dimensions and diagnose in order.
Symptom map
| Symptom | Possible causes | First evidence |
|---|---|---|
| Two parts do not meet | Layout error, burr, wrong bend, uneven edge | Drawing, datums, gap pattern |
| Sheet rocks on a flat surface | Forming stress, heat distortion, uneven support | Flatness check and heat record |
| Deep linear scratch | Dirty stake, trapped abrasive, file slip | Scratch direction and prior setup |
| Gray or dark subsurface area | Oxidation, contamination, alloy response | Material and heat history |
| Finished part undersize | Sawing inside line, excess filing, heavy abrasion | Stage measurements |
Possible is not confirmed. Several causes can produce the same surface.
Symptom to cause to first evidence
Symptom
- Two parts do not meet
- Layout error, burr, wrong bend
- Sheet rocks on flat surface
- Forming stress, heat distortion
- Deep linear scratch
- Dirty stake, trapped abrasive
- Gray or dark subsurface area
- Oxidation, contamination, alloy
- Finished part undersize
- Sawing inside line, heavy abrasion
Possible causes
- Two parts do not meet
- Drawing, datums, gap pattern
- Sheet rocks on flat surface
- Flatness check and heat record
- Deep linear scratch
- Scratch direction and prior setup
- Gray or dark subsurface area
- Material and heat history
- Finished part undersize
- Stage measurements
First evidence
- Two parts do not meet
- Sheet rocks on flat surface
- Deep linear scratch
- Gray or dark subsurface area
- Finished part undersize
Problem 1: poor fit
Clean both contact surfaces and remove only true burrs. Use light, directional inspection to see whether the gap is uniform, tapered, or localized.
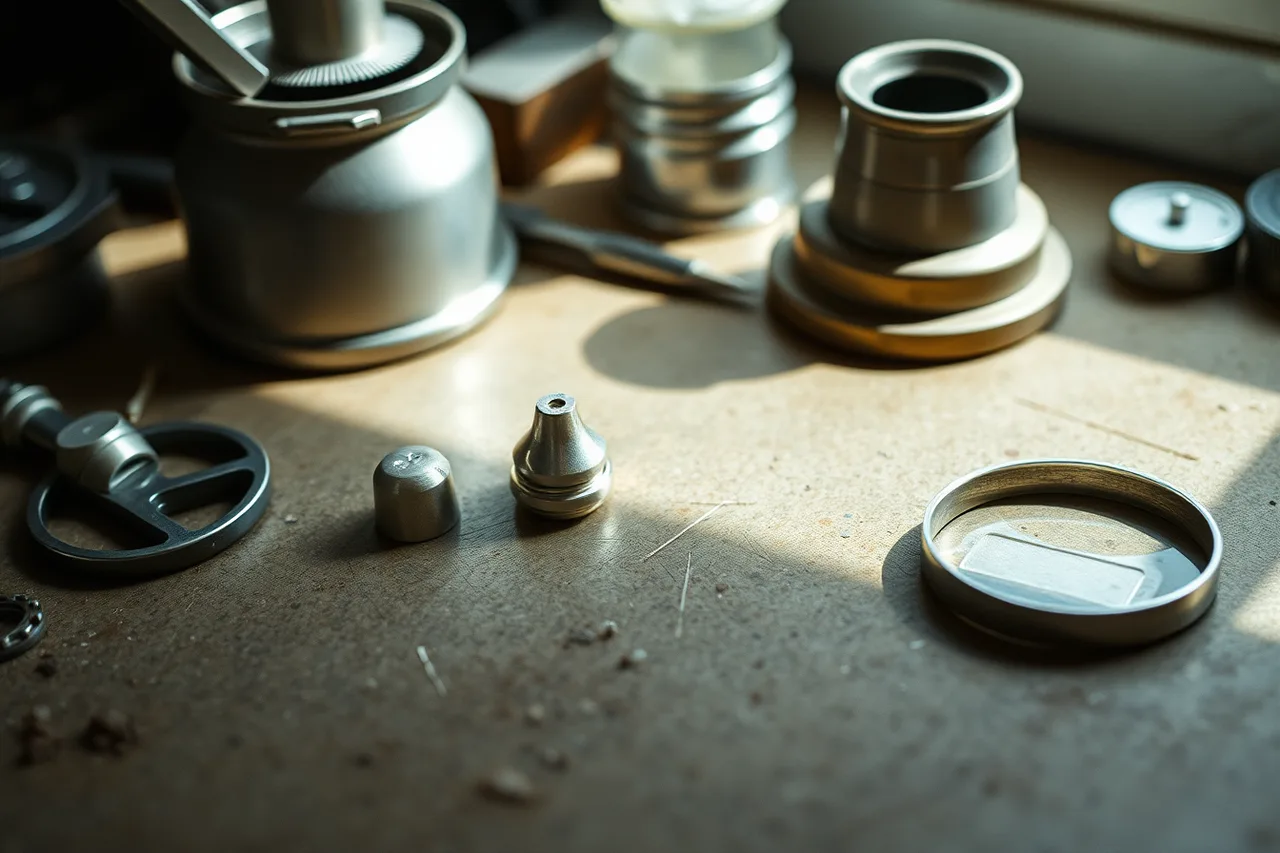
Check the drawing and reference datums. A uniform gap may indicate a size error; a rocking gap may indicate distortion; a bright contact point may reveal one high spot.
A V&A account of a silversmithing course project traces a box through bending, soldering, fitting a bezel, sawing, filing, scratch removal, and repeated alignment checks. It supports the practical point that fit emerges through a sequence rather than one final adjustment.
Controlled correction
Controlled correction cycle
- Mark high spots
- Remove a minimal amount
- Deburr
- Clean
- Retest in intended orientation
- Measure after each cycle
Problem 2: distorted metal
Identify whether the part is bent, twisted, dished, stretched, or locally dented. Support it with a stake, block, mandrel, or fixture whose shape matches the correction.
Use light blows or controlled pressure under trained practice. Check often. Unsupported striking can move the problem or thin the metal.
Do not anneal by default. Heat can affect solder, stones, plating, patina, temper, and surface condition.
Problem 3: deep scratches
Determine whether the mark is a scratch, file cut, dent, porosity, seam, or crack. A scratch usually has displaced or removed material along a path. A crack can continue under the surface and requires a different decision.
If correction is appropriate, use the least aggressive abrasive capable of leveling the defect within the thickness allowance. Keep the tool flat where flatness matters, then proceed through a documented sequence.
Polishing compound is not an efficient substitute for removing a deep scratch. Long polishing can erase edges while leaving the low point visible.
Problem 4: heat damage
Signs may include slumping, melted detail, opened seams, changed temper, heavy oxidation, contaminated solder flow, or damage to an inclusion. Stop heating and let the piece cool in the manner required by the trained process.
Record the alloy claim, solder grades, prior joints, flame or heat source, sequence, and observed change. Unknown or plated objects should be assessed by a qualified repairer before more heat.
Problem 5: lost dimensions
Compare current measurements with the drawing and stage record. Decide whether the difference affects function, symmetry, wall thickness, joint area, stone security, or required weight.
Possible responses are:
- revise the design within an approved tolerance;
- add a separately designed component;
- remake one part;
- remake the entire piece;
- stop and document the loss.
Adding solder or plating is not a general method for replacing structural metal.
Safety failures behind workmanship failures
South Texas College's jewelry and metals studio rules require prior instruction, appropriate safety gear, and adherence to procedures before tool and machine use. Those controls also improve workmanship by preventing unstable, improvised, or impaired operation.
Stop correction when the remedy would require an untrained machine, uncontrolled dust, unsupported hot work, or chemical use without the safety data sheet and proper controls.
Diagnostic order
- Isolate the piece and preserve its current state.
- Confirm material and process history.
- Measure against the drawing.
- Classify the defect without guessing at cause.
- Inspect the tool, support, and preceding operation.
- Test the proposed correction on matching scrap.
- Correct in small steps with repeated checks.
- Record the outcome and remaining limit.
Common questions
Should I file until two parts fit?
No. First identify whether the gap comes from size, burrs, angle, distortion, or orientation.
Can every scratch be polished out?
No. Correction may remove too much metal or erase adjacent detail and edges.
Does annealing straighten metal?
Annealing changes formability. It does not by itself restore geometry and may create new risks.
When is remaking the safer choice?
Remake when correction would compromise thickness, fit, strength, surface design, stone security, or safe procedure.