Maintenance
Part of Silver forming guide: hammers, stakes, mandrels and shape control
Silver forming checklist: hammer, stake, annealing, measurement and surface control
A bench checklist for silver forming: stock records, hammer and stake condition, annealing cycles, released measurements and surface limits.
What to take away
- Log alloy, batch, temper and starting dimensions before the first blow, because a later crack cannot be traced without them.
- Inspect the hammer head, eye and handle as carefully as the stake contour; a mushroomed head or split handle retires the tool.
- Anneal on a recorded cycle count, not on feel, and enter the reason on the traveler.
- Measure off the tool in the released state; springback is a number to record, not a gap to close by eye.
- Stop forming when a suspect line appears and inspect it before the next pass.
Stock and drawing
- Alloy identified by name, such as sterling silver or fine silver, with supplier, batch, temper and prior operations recorded.
- Starting length, width, thickness, mass and surface condition logged.
- Datums, centerline, bend line and keep areas marked.
- Minimum wall, edge radius and opening taken from the approved drawing.
- The written annealing cycle and rework limits for the identified alloy are available at the bench.
- Plated, filled, repaired or historic material held for separate approval.
Hammer
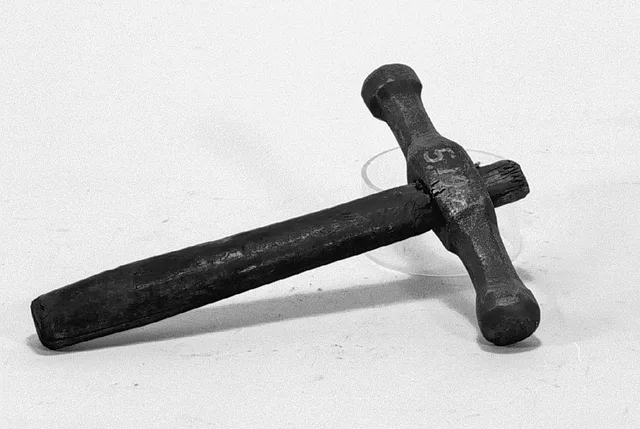
- Select a raising hammer to move metal or a planishing hammer to smooth it; use a ball-peen only when its rounded texture is intended.
- Face clean, with the polish or texture the pass calls for.
- No chip, crack, mushrooming, loose head, split handle or sharp grip.
- Swing clearance open above, behind and beside the operator.
- Eye protection and task controls in place.
OSHA's Hand and Power Tools requirements prohibit unsafe hand tools and require sound, tight wooden handles and impact tools free of mushroomed heads. Apply the requirements that govern your workplace and pull questionable tools from service.

Stake, mandrel and support
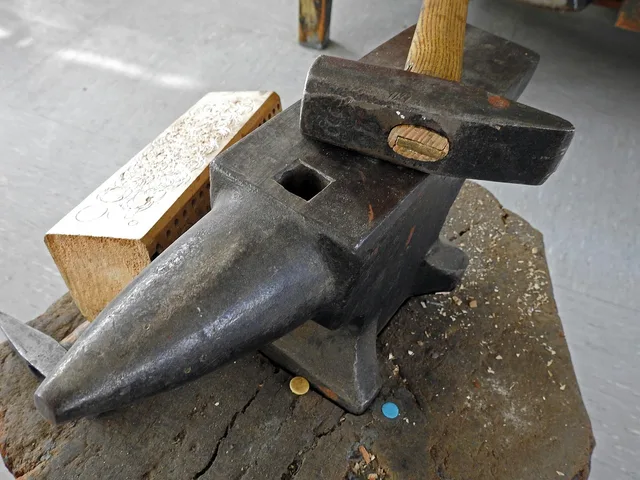
- Choose a T-stake or bezel stake for forming over a contour, or a dapping block and punch for forming a dome; match the tool to the planned movement.
- Working contour matches the movement you plan.
- Surface clean, with no unintended raised damage.
- Stake or mandrel secured in a rated holder.
- Base, anvil, stump or sandbag cannot shift.
- Work contacts the support at the planned point.
- Hands outside pinch and closing zones.
- Tool cannot tip or eject under a glancing blow.
Body and work cycle
- Working height allows a neutral, balanced stance.
- Grip and handle length do not concentrate pressure in the palm.
- Work rotates without overreaching.
- Mark the pass sequence and direction on the work plan; advance adjacent blows with consistent overlap.
- Breaks or task rotation address repeated impact and grip.
The Canadian Centre for Occupational Health and Safety's Hand Tool Ergonomics - Tool Design guidance explains how handle shape, length, diameter and grip change wrist position, control and contact stress. Precision work often needs smaller dimensions than the guidance assumes, so fit the tool to the user and the task.
Annealing gate
- Identify the alloy and keep its written annealing procedure at the bench; for sterling silver, a faint dull-red glow in dim light can be a visual cue, but do not use color alone as a temperature measure.
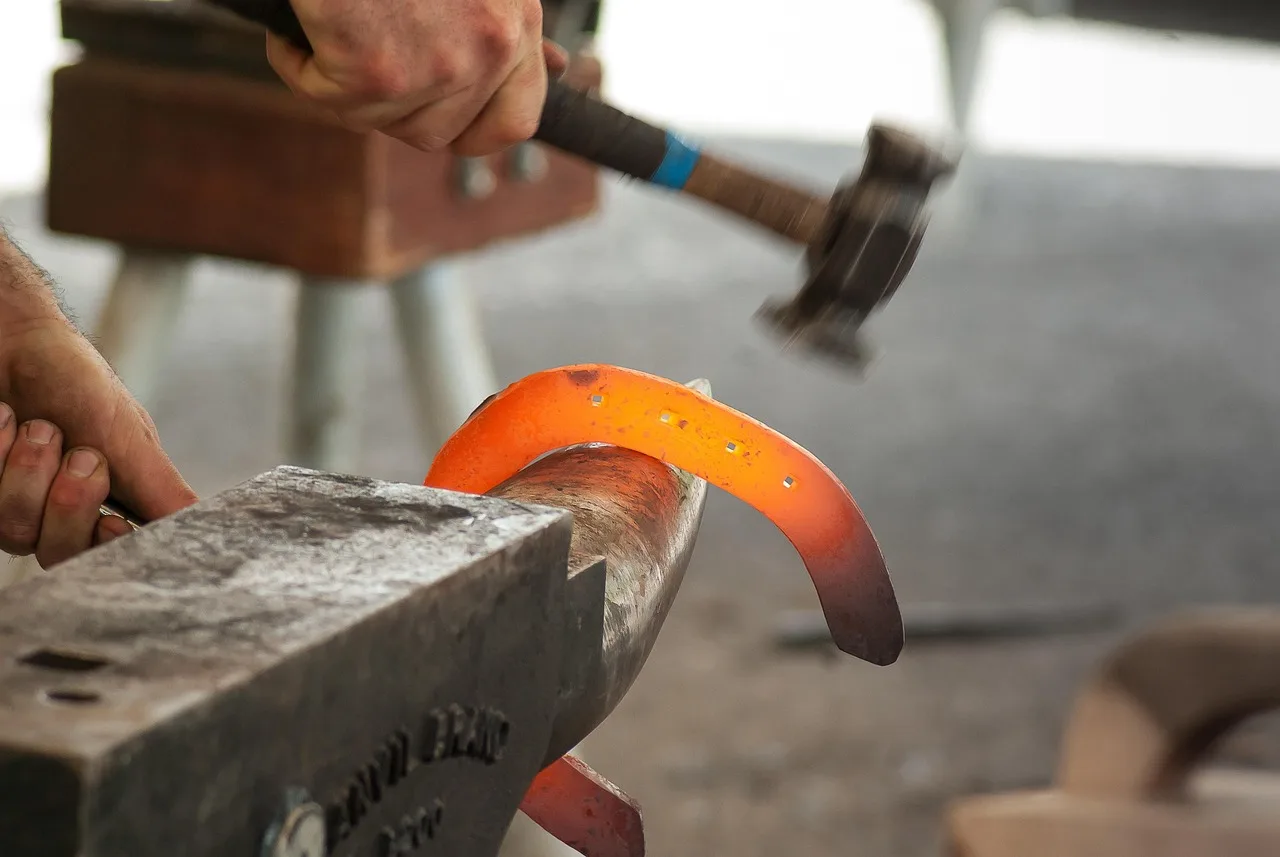
- Use an air-propane or air-acetylene torch suited to the work, with the operator, ventilation, fire controls and hot-metal zone ready.
- Coatings, stones, solder, fills and enclosed spaces assessed.
- Heat evenly according to the alloy procedure; record the cycle, cooling method and cleaning steps.
- For sterling silver, after heating, quench in water and clean surface oxides in warm Sparex sodium bisulfate pickle; follow the product directions, use copper or plastic tongs, then rinse and dry the work.
- Work inspected after every cycle for cracks, distortion and firestain; pickle removes surface oxides but does not remove firestain below the surface.
- Cycle count and reason entered on the traveler.
Measurement gate
- Work measured off the tool, in its released state.
- Thickness checked at the rim, shoulders or transitions, and the deepest-drawn wall.
- Paired features compared from a fixed datum.
- Radius, taper, depth, rim, opening or length meets the stage target on the drawing.
- Springback recorded rather than corrected by guesswork.
- Finishing allowance still present.
Surface and defect gate
- Raking light shows no new sharp dent, fold, crack or embedded debris.
- Tool marks match the intended pattern and depth.
- Edges smooth enough for the next operation.
- No abrasive correction hiding a low section.
- After annealing and pickling, inspect sterling silver for firestain as well as surface oxide; suspect lines inspected before further forming.
- Rework stays inside dimension and thickness limits.
Closeout
- Final dimensions, images, tool pair, cycles and deviations attached.
- Tools cleaned, inspected and stored.
- Filings and scrap keep their alloy identity.
- Where the job requires marks, maker's mark and fineness mark checked after forming; verify alloy identity before applying a fineness mark.
- Acceptance, rework or rejection signed and dated.
Common questions
Can a polished hammer face still be unsafe?
Yes. The head, eye, handle, balance and task fit all matter. A clean face says nothing about a loose head or a split handle.
Should measurements be taken on the mandrel?
No. Accept on released measurements, because springback and tool taper both change the reading. A number taken on the tool is a forming reference, not a pass or fail.
Is annealing required after a fixed number of blows?
No universal count applies. Work from the documented limits for the alloy and process you are running, and record each cycle.
Can a deep tool mark be polished out later?
Only if the measured material-removal and surface limits allow it. Polishing to hide a low section thins the wall, and that shows up at the next forming pass.