Rules
Part of Silver forming guide: hammers, stakes, mandrels and shape control
Silver forming problems: cracks, wrinkles, springback and tool marks
Silver forming problems guide for cracks, wrinkles, springback, uneven thickness, dents, tool marks, root-cause evidence, correction limits, and rejection.
What to take away
- Stop at the first crack, fold, sharp dent, sudden stiffness, or unexpected change in sound.
- Preserve measurements and photographs before flattening, annealing, filing, or polishing.
- Springback is a material-and-geometry response, not proof that the piece needs harder blows.
- A smooth surface can still conceal unacceptable thinning.
- Confirm corrective changes on documented coupons before returning to high-consequence work.
Silver forming problems often overlap. Forming defects can share causes: a wrinkle can become a fold, a fold can crack, and polishing a dent can create a thin zone. Diagnose the earliest observable event rather than only the final appearance.
For silver work, identify the alloy before choosing a forming or annealing approach. Fine silver, sterling silver, Britannia silver, and Argentium silver are common bench alloys, and each has its own working and annealing data. Use the data supplied with the metal.
Cracks and edge splits
Map the crack's location, direction, length, and relation to edges, solder seams, tool marks, grain direction, and prior bends. Do not close it with hammering or heat it before deciding whether repair is allowed.
Work hardening increases hardness and strength while reducing ductility under plastic deformation, as summarized in the Wikipedia article on work hardening. In sterling silver, repeated forming can work-harden the piece. Copper-bearing silver alloys can also develop firescale during heating. These are alloy-specific clues, not a diagnosis by appearance alone; contamination, alloy mismatch, overheating, deep scratches, and poor geometry can also initiate cracks.
Reject or refer the piece when the crack crosses a structural section, repair would violate disclosure, or remaining material cannot meet the drawing. Acceptance criteria come from the drawing or customer specification unless a contract names another standard.
Wrinkles and folds
Wrinkles show that material is not being controlled evenly. Check support contour, course angle, spacing, rim behavior, blank shape, and whether excess material is accumulating in one sector.
Stop before a wrinkle closes into a fold. A folded layer may trap scale and produce a crack or hidden void. Do not hammer it flat and call the surface repaired.
Springback
Measure the part on the tool and after release. The difference is process data. Check alloy, temper, section, bend radius, orientation, prior working, and annealing state. For silver, use the anneal temperature published by the alloy's maker or refiner; a faint dull-red color in dim light is only a rough visual cue, not a temperature measurement. Heating copper-bearing sterling can produce firescale, so inspect the surface and remaining section before removing material.
Correct in small symmetric steps. Excess overbending can move the error elsewhere or create a kink. A repeat job needs a recorded compensation based on the actual batch and setup.
Uneven thickness
Create a station map. Measure likely stretched zones, tight radii, edges, transition points, and the nominally unchanged center. Mass alone cannot reveal a local thin spot.
If thickness falls below the minimum on the drawing or customer specification, polishing or reshaping does not restore it. Redesign, reconstruct, or reject the part.
Dents and tool marks
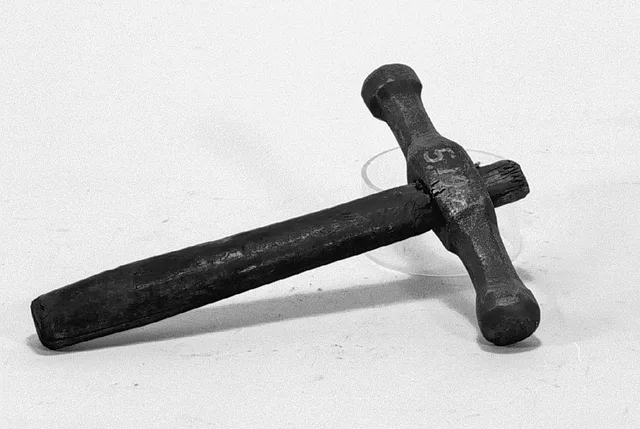
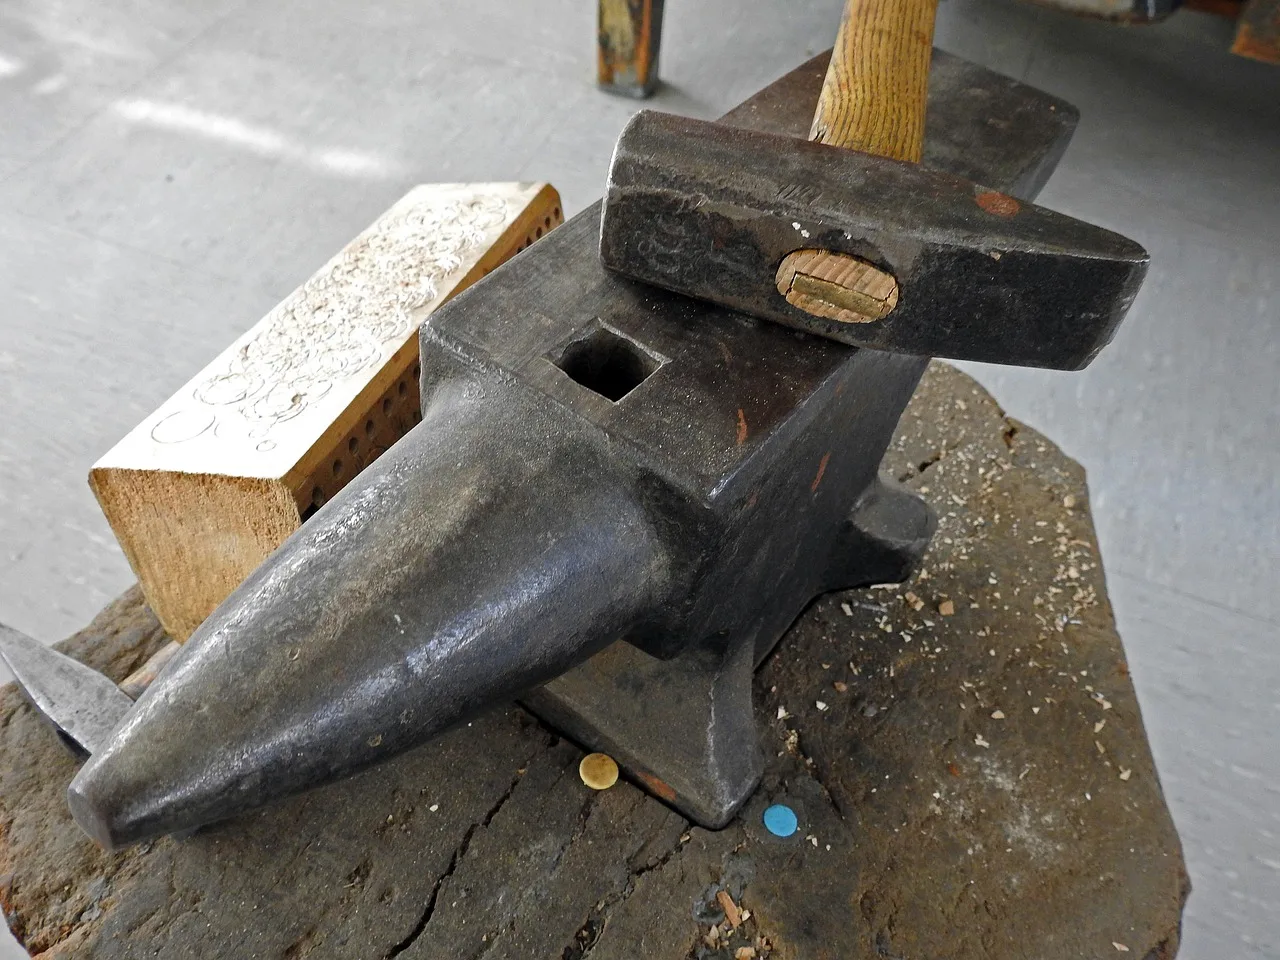
Separate intended hammer texture from accidental sharp contact. A single deep mark may come from a chipped face, debris on the stake, a glancing blow, or unsupported work. A raising hammer, planishing hammer, stake, or mandrel can each leave contact marks; compare the mark with the tool and support used.
Tool marks can come from the hammer face. GIA's goldsmith-hammer modification lesson describes face and handle preparation for shaping and forming tasks. It is a tool-maintenance reference, not silver-alloy forming guidance. Match and maintain a hammer for its job; follow the tool maker's dressing instructions for silver work, and do not grind or alter a damaged tool without qualified control.
Do not remove a dent by sanding the entire area until it looks level. Measure depth and remaining section, then decide whether burnishing, controlled planishing, local refitting, redesign, or rejection is permitted.
Root-cause worksheet
Record the following, using the drawing, alloy data sheet, or process record for each value:
| Evidence | Question |
|---|---|
| Tool-face impression | Is the same defect present on the hammer or stake? |
| Location repeats | Does support or grip change there? |
| Defect follows an edge | Was the edge scratched or overworked? |
| Thickness drops locally | Did blows stretch instead of compress the zone? |
| Springback rises by course | Did work condition change between measurements? |
| Crack appears after heat | Was material, temperature, atmosphere, or cooling incorrect? |
Common questions
Can annealing heal a crack?
No. It may change material condition, but it does not restore separated metal or lost section.
Should wrinkles be hammered flat?
Not before identifying why material accumulated and whether a fold has formed.
Does harder hammering reduce springback?
It can create more deformation and damage. Use measured, tested compensation.
Are all hammer marks defects?
No. Intended texture is controlled and specified. Accidental sharp marks are a separate condition.