Guides
Part of Silver forming guide: hammers, stakes, mandrels and shape control
Anneal and Form Silver Band: Nine Bench Stages
Anneal and form silver band strip in nine bench stages: process card, strip measurement, anneal under exhaust, pickle, mandrel passes, and final release.
To anneal and form silver band stock without guessing, work from a written procedure rather than from memory: the metal has to be soft enough to move, and the record has to show how it was handled at each stage. This guide runs nine checked stages on documented strip, from the process card to the released band, and it names the checks to make at every one.
What to take away
- Write the process card before you light the torchalloy, temper, batch, anneal range, cooling method and forming tools.
- Get the alloy's anneal range, cooling step and forming limit from the maker's technical sheet for that batch, and copy them onto the card.
- Measure the strip at the center and both quarter points, and photograph both faces under raking light, so forming damage is not confused with stock defects.
- Heat the whole working section evenly under local exhaust; thin ends gain heat faster than the center.
- Quenching is a decision, not a default. Follow the alloy supplier's cooling step.
- Stop at any crack, edge split or fold. A crack cannot be formed out.
This guide covers forming an open band from documented silver strip. A soldered closed ring, a stone-set piece and plated stock each get their own design review, because opening, fit and stone security are worked out there.
Step 1: write the process card
Record the alloy, supplier, batch and temper. Record strip length, width and thickness, the required inside contour, and the opening. Add the minimum section, edge radius, approved annealing range and the indicator you will watch.
Which alloy's figures go on the card
Fine silver (999), sterling silver (925) and Argentium sterling each carry their own anneal range, cooling step and hardness data, and the strip moves differently in each. There is no universal range to memorize: the figure belongs to the alloy, its temper and the stage, so it comes from the alloy maker's technical sheet or the supplier's stock data for that batch. Copy it onto the card rather than into memory, and carry three things from that source before the first heat — the annealing range with the indicator you will watch, the cooling step for that stage, and the forming limit that triggers the next anneal. A color or a torch time remembered from another alloy is not a figure to run a stage on.
Process card and tooling
- Record alloy, supplier, batch, temper
- Record strip length, width, thickness
- Record inside contour and opening
- Add minimum section and edge radius
- Add approved annealing range and indicator
- List torch, fuel, tip, support, exhaust
- List forming mandrel and hammer
List the tooling by name before you start, and settle the size or setting for each:
- torch and the tip size you will use
- fuel and the regulator setting for it
- heat-resistant support and long tweezers
- local exhaust
- fire controls within arm's reach
- ring mandrel or stepped forming mandrel
- nylon or rawhide mallet
- forming hammer with a dressed face If the supplier publishes no annealing data for the stock, stop and get it. Color memory from a different alloy is not a procedure.
Step 2: prepare and measure the strip
Square or shape the ends to the drawing. Deburr the edges without reducing the stated width. Mark the centerline and the quarter points, then measure at each one.
Photograph both faces under raking light. Rolling marks, pits and edge defects belong in the starting record. Without that record, a pre-existing pit reads as forming damage and you will chase a fault you did not cause.
Step 3: inspect the tool pair
Check that the mandrel is clean, secure and free of raised damage. Inspect the hammer or mallet face and the handle. The contact has to move the strip, not stamp sharp marks into it.
Historical research on Paul Revere's workshop describes work hardening and annealing as linked stages in shaping silver. That account sets no temperature and no quench method. Your alloy specification controls this exercise.
Step 4: anneal under exhaust
Clear combustibles, verify local exhaust, complete the torch inspection, and set out a marked landing area for hot metal. Wear the eye and body protection your shop's hazard assessment requires.
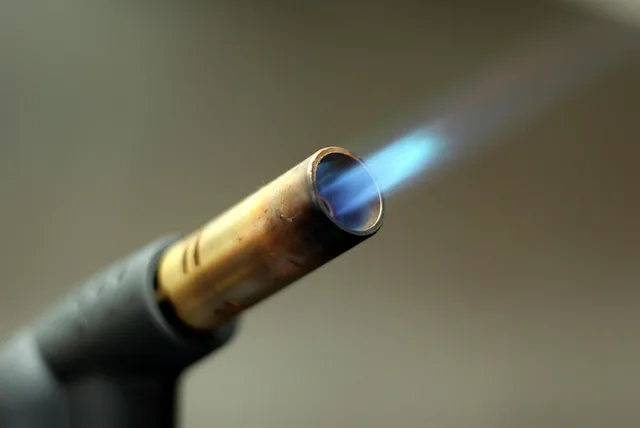
Heat with the approved flame and keep the torch moving so the section reaches condition evenly. Thin ends run hot before the center does. Do not treat redness, melting flux or elapsed time as a universal indicator unless the qualified procedure names it. Shut the torch down correctly, and treat the strip, support and tweezers as hot.
Step 5: cool, clean, inspect
Use the cooling step written for that alloy and that stage. Quenching is not automatically correct: the documented step decides, and it differs between alloys. Then clean the strip. Pickling is the bench step that removes the copper oxide heating leaves on sterling silver and other copper-bearing silver; a diluted sulfuric acid bath is the traditional pickle, and citric acid can replace it. Run the bath in labeled, compatible containers with ventilation, eye and skin protection, rinsing and a waste route. Pull the work when the surface reads white and even rather than counting minutes, then rinse it fully.
Dry the strip and look for melting, scale, firestain, pits, contamination and distortion. A damaged strip does not go to the mandrel.
Step 6: start the curve at the center
Support the strip at its center against the ring mandrel, using the nylon or rawhide mallet for the first passes. Work outward toward the ends with light, balanced blows or pressure. Keep the strip square to the mandrel unless the drawing calls for taper or twist.
Turn the work often enough to see both faces and both edges. Never put fingers between the work and the mandrel, or inside a curve that is closing.
Step 7: measure after every pass
Lift the band off the mandrel without prying against an edge. Then check:
Measure after every pass
| Feature | Method |
|---|---|
| Center alignment | Compare the center mark with the deepest curve |
| Paired quarter points | Measure distance and curvature from the center |
| Opening | Use the drawing's gauge, not finger fit |
| Width and thickness | Measure at the named positions |
| Edge condition | Look for flare, roll, dents and cracks |
| Surface | Compare against the raking-light photographs |
Return only the high or flat areas to the mandrel. Do not thin the opposite side to imitate symmetry.
Step 8: decide on a second anneal
Use the deformation or hardness limit on the process card, taken from the alloy data as a thickness reduction or a hardness reading rather than a feel. Rising springback and resistance suggest work hardening, but they do not replace that limit. If the card carries no figure, stop and get the alloy supplier's data before the next pass, and stop at any crack or edge split.
If another anneal is allowed, repeat the full sequence: heat safety, cooling, cleaning, inspection. Log every cycle.
Step 9: release the band
The band passes when contour, opening, symmetry, minimum section, edge radius and surface all match the drawing. Clean and store the tools, segregate the filings, and attach the final measurements and images to the job record.
Release is also where the piece meets its claims. A silver quality mark is a legal statement about the metal: in the United States, quality marks on silver are governed by the National Gold and Silver Stamping Act, which requires the marked fineness to match the article and the maker's mark to appear on it. The forming record — alloy, batch, anneal cycles and final measurements — is what lets you stand behind that mark.
Common questions
Must silver glow before it is annealed?
Glow is not a universal indicator. Follow the alloy supplier's range under lighting bright enough to judge it, and treat any color chart as specific to one alloy.
Should the band be quenched straight away?
Only when the documented process says so and the construction allows it. For some alloys and stages, air cooling is the correct step.
Why does one end curve more than the other?
Compare anneal uniformity, starting geometry, support, blow order, section thickness and center alignment. The uneven end is usually a symptom, not the fault.
Can the mandrel set the final size?
No. Measure the released work, because springback and any taper change the diameter once the band comes off the mandrel.