Guides
Part of Silver soldering guide: fit, heat, and inspection
Prepare and solder a controlled silver seam on a coupon
Prepare a controlled silver seam on a practice coupon: fit, flux, conduction heat, a cut-open check and a bench record you can repeat.
What to take away
- Solder a coupon in the piece's own alloy first, with the same fit, flux, solder count and torch as the real seam.
- Cut solder to a recorded count or mass so a repeat job behaves like the first.
- Heat the parent metal, not the solder. Filler runs toward the hot area.
- Cut the coupon openthe outside never shows how far solder penetrated.
- Write the result in a bench record against the drawing tolerance, because the record makes a seam controlled.
Why a coupon comes before the real seam
A coupon turns one seam into a test you can repeat. It is cut from the same alloy, fitted the same way and fluxed the same way, so a failure lands on scrap instead of on the finished piece.
Silver is not one metal at the bench. Fine silver solders quietly and barely firestains. Sterling firestains readily, so it needs full flux coverage and a clean pickle. Argentium sterling carries germanium, resists firestain and stays bright across a long seam.
Cut the coupon from the documented alloy so the result carries over to the piece.
Solder comes in easy, medium and hard grades, named for how hot they flow. In a multi-step assembly, solder the hard grade first and work down, so a later pass does not reflow a joint you already finished.
Use the grade the real seam will use, choose cadmium-free stock, and read the working range on the data sheet.
Do not use unmarked inherited solder. A grade name does not reveal composition, and legacy fillers can carry hazardous elements.
Fit and clean the coupon
Bring the two edges together as they will sit in the finished piece. A seam that needs force to close will open when the torch reaches it. Forced fit also costs lost dimensions once the work cools.
Look along the full length under magnification and, where the shape allows, against transmitted light. High spots come down with a file, not with a squeeze. Check squareness and the position of any earlier seam before you commit heat.
Degrease with warm detergent or a solvent wipe, rinse in clean water, and dry with lint-free paper. Dry means dry: trapped water flashes to steam under the flux and can shift the joint or spit flux off the seam as the metal heats.
From that point the seam is a contamination target. Bare fingers leave oil that pushes solder away. Use clean tweezers or gloves suited to the chemistry, and keep steel binding wire, pins and blocks off the joint, because they change the heat path and steel can mark silver at temperature.
Set up before ignition
Run the same four checks every time, before the torch is lit. The coupon only predicts the real seam if the setup matches.
- Start local exhaust and check the capture point pulls fumes without dragging the flame across your face.
- Clear combustibles and stage hot-metal tools and fire equipment where you expect them.
- Inspect torch, hoses, connections, regulators, tip, cylinder restraint and ignition method.
- Stop on damage, odor, a failed leak check or unfamiliar behavior.
In the US, OSHA's general requirements for welding, cutting and brazing, 29 CFR 1910.252, include ventilation rules for torch work. Treat them as a floor rather than a target, and judge your own setup by whether the plume is captured at the source rather than drifting across the bench. The wider silver soldering guide covers fume and fire control in more depth.
Flux, pallions and conduction heat
Coat the joint and the metal beside it with flux, mixed to the product instructions. Silver fluxes fall into two families: borax-based fluxes, painted on as a thin paste, and self-pickling fluxes sold ready to use.
Flux that has dried out and blackened before flow temperature has stopped working. Add more rather than pushing the torch harder.
Cut the solder into small pallions from a labeled batch and record the count or mass. Lay a pallion at the seam edge and let capillary action pull it through the joint. If a bead is still sitting proud of the seam after flow, the joint took less solder than you gave it.
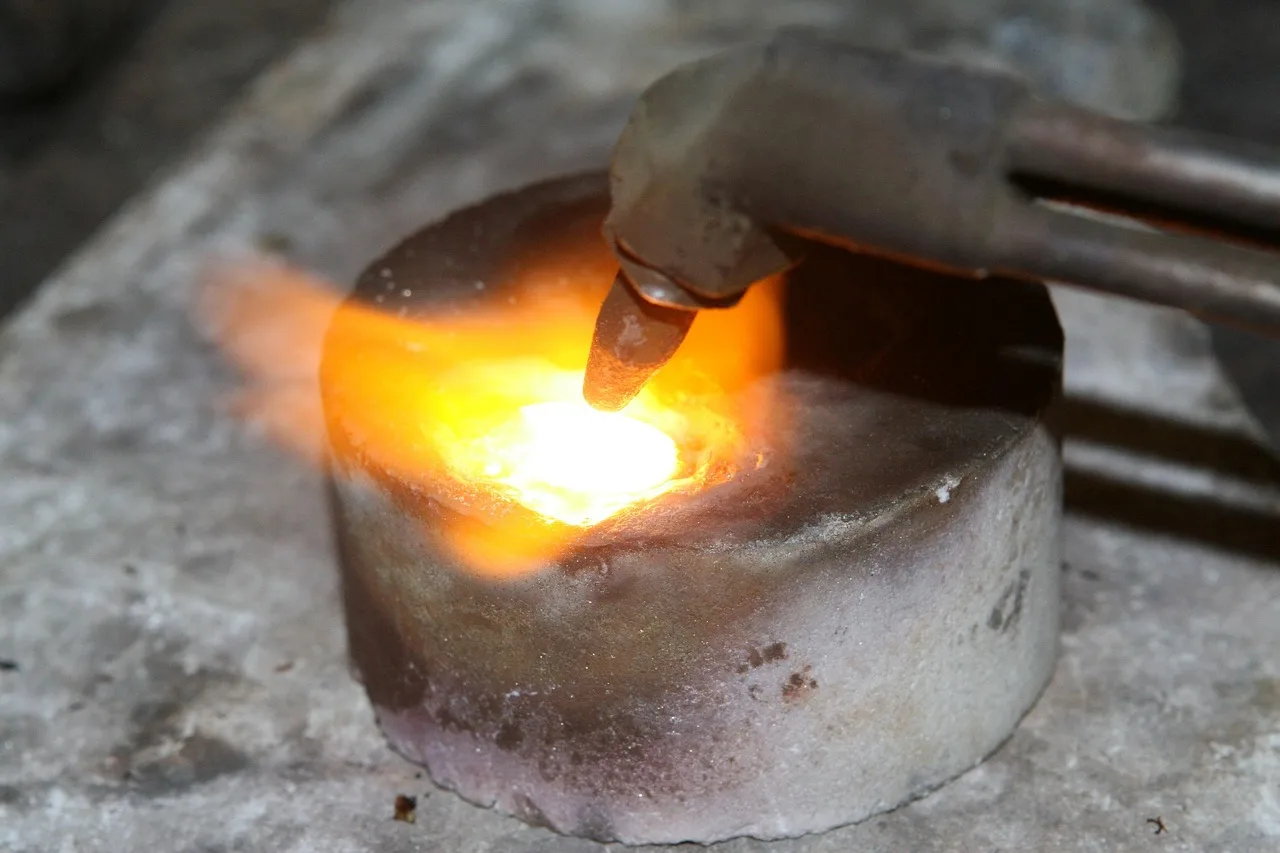
Aim the flame at the parent metal. GIA's conduction-soldering lesson warns that pointing the torch at the solder makes it overheat, boil and oxidize, and it advises removing the heat as soon as the solder melts. Follow that within your approved silver process and the product data sheet.
Heat the assembly generally at first, matching the flame to its mass. Move it so heavy areas do not leave the seam cold while thin edges overheat. As the metal nears flow temperature, guide heat along the seam, then remove it promptly.
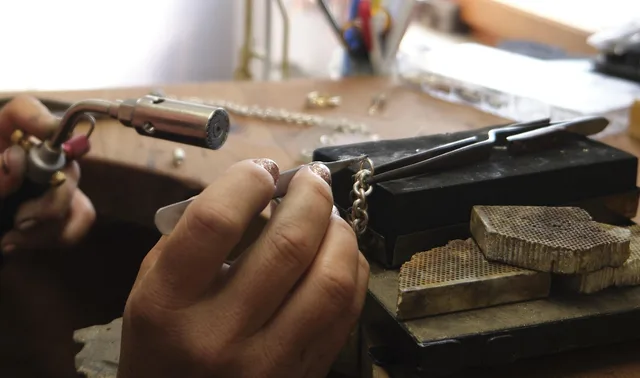
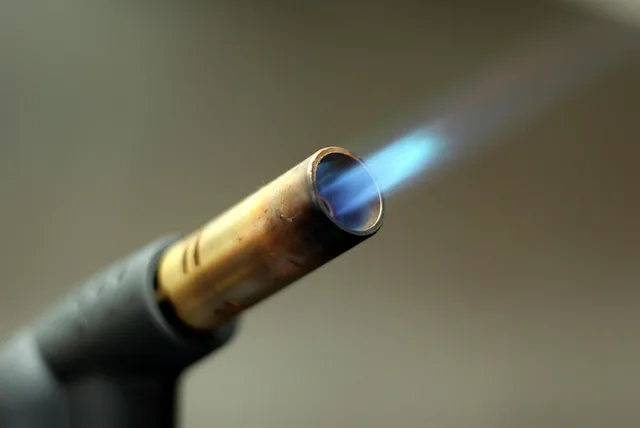
A small air-propane torch with a fine tip handles most silver seams. Move up to oxy-propane when the piece has real mass or a broad heat sink. Keep the flame soft and slightly reducing, and travel it along the seam instead of parking it in one spot.
If the seam stays incomplete, do not chase it with repeated heating. Shut down and diagnose after cooling.
Cool, pickle and cut the coupon open
Treat the whole setup as hot until you have confirmed otherwise. Cool the work by the method approved for its construction. Do not quench closed, stone-set, enameled, filled or unknown assemblies without a specific assessment.
Pickle is a warm acid bath, usually a sodium bisulfate safety pickle, and it lifts flux glass and oxides once the piece has cooled. Keep steel tools and binding wire out of the bath, because iron draws copper out of solution and spoils the pickle. Rinse in clean water before handling.
Cleaning off flux and oxides calls for labeled containers, compatible tongs, eye and skin protection, and the designated waste route.
Then cut the coupon open. A section shows penetration, which the outside never reveals. Record the section against the external appearance, so you learn whether a seam that looks full is full.
What goes in the bench record
Inspect at magnification, a bench loupe or a low-power stereo microscope, under the same light every time. The record, not the eye alone, is what makes a seam controlled.
| Record field | What to write | What it tells you |
|---|---|---|
| Alloy and solder grade | The documented alloy and the grade on the data sheet | Whether a later piece can match this one |
| Solder count or mass | Pallions cut, or mass in the same unit each time | Whether a repeat uses the same amount |
| Flux and torch | Flux family, tip size, flame setting | Which setup the result belongs to |
| Section | Penetration seen when cut open, against the outside | Whether the visible seam is a full seam |
| Inspection | Result against the drawing tolerance | Whether the seam passes |
- Seam runs continuously with no visible gap or pit.
- Alignment and final dimensions match the drawing.
- No excess solder, firestain or erosion on adjacent surfaces.
- Other joints have not moved.
Using the record to cost a seam
Cost a seam from time and materials, not from a finished-piece guess. Let T be bench minutes including setup and cleanup, R your shop rate per minute, S the solder used by mass, F the flux and pickle share, and X the wear consumables.
Then seam cost = (T x R) + S + F + X.
Record T, S and F per batch. After ten batches you know which seam in your line actually eats the margin, and whether a jig or a better fit pays for itself.
Common questions
Should the torch point at the solder?
Not in the cited conduction method. Heat the assembly so the joint reaches the filler's working range, and let the solder run to the heat.
How much solder should I use?
A controlled amount set by joint geometry and your own verified trials. Excess does not correct poor fit; it hides it until the piece is polished.
Why did the solder ball up instead of flow?
Check cleanliness, fit, flux condition, and heat distribution in that order. Then check solder identity and contamination after safe shutdown.
Can I reheat straight away?
No. Cool, clean, inspect and diagnose first. Reheating a dirty or misaligned joint drives oxides in and makes the second attempt worse than the first.