Features
Part of Silver soldering guide: fit, heat, and inspection
Diagnosing a failed sterling-silver box seam case
Failed silver box seam case using intake records, defect maps, fit and heat evidence, measured rework limits, coupon trials, inspection criteria, and prevention.
What to take away
- This fictional case demonstrates diagnosis, not a repair prescription for an antique or customer-owned box.
- The team preserves the failed seam before filing, pickling again, or adding solder.
- Misfit, depleted flux, uneven heat, and excess filler are tested as separate hypotheses.
- A measured wall-thickness limit decides whether the seam can be refitted.
- The accepted process comes from labeled coupons and repeat inspection, not one lucky reheat.
The practice object is a new rectangular box fabricated from documented sterling sheet. One 62 mm corner seam has solder at the top and bottom but a dark 18 mm gap through the middle. A rounded solder pool sits 4 mm from the gap.
All dimensions and results are fictional.
Preserve the evidence
The operator shuts down the torch, completes the fire check, lets the box cool, and photographs all four faces, inside, outside, support, binding, and solder placement. No additional flux or filler is applied.
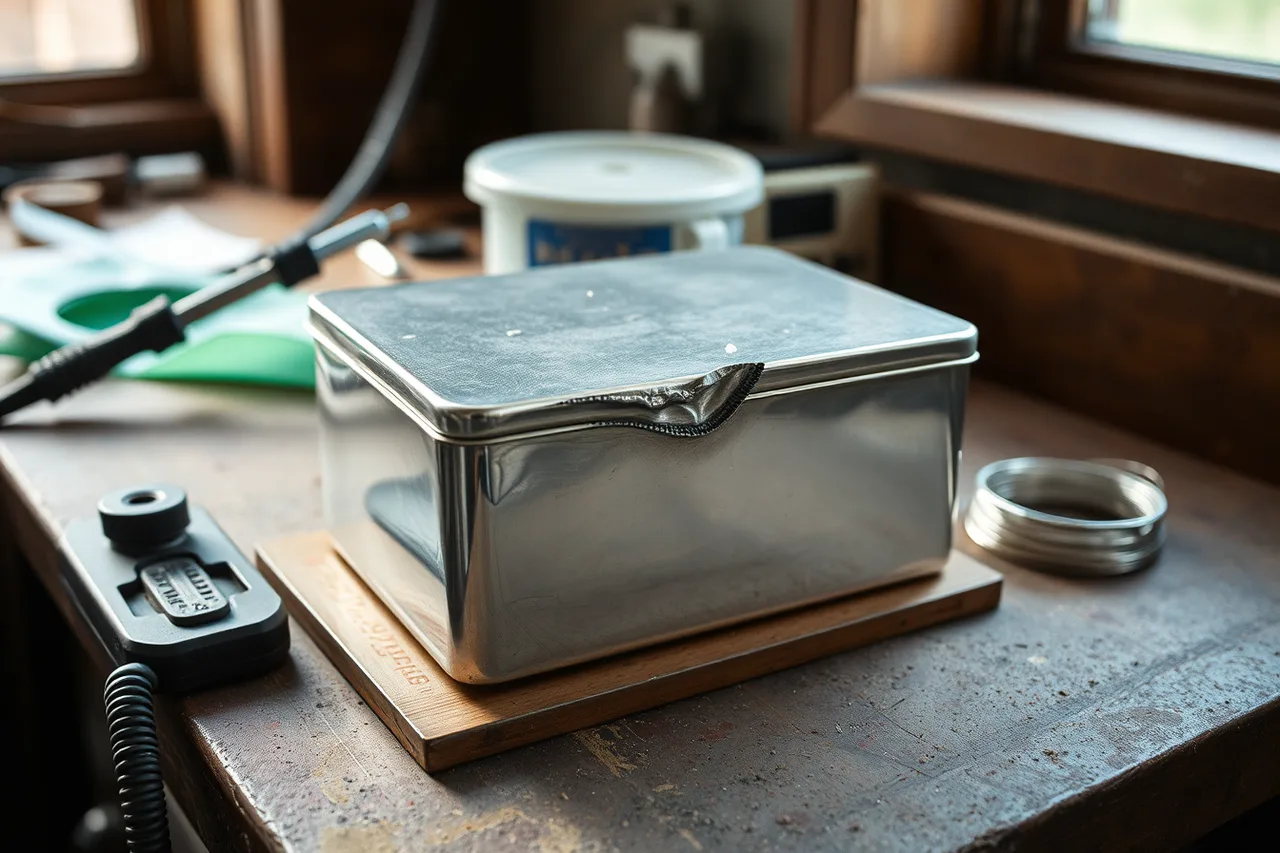
The job traveler supplies the sheet batch, solder product, flux, torch tip, support, seam dimensions, and preheat photographs. The record shows that the box was square before heating.
Describe, then interpret
The team maps observations:
| Observation | Direct finding | Possible explanations |
|---|---|---|
| Solder at both ends | Local flow occurred | Ends reached working range or retained flux |
| Dark central gap | Seam not visibly joined | Misfit, oxide, exhausted flux, or insufficient joint heat |
| Pool beside seam | Filler moved away | Hotter adjacent area, misplaced solder, or open path |
| Side wall bowed 0.45 mm | Geometry changed | Binding force, uneven heat, or softened wall |
No single observation proves the root cause.
Recheck fit
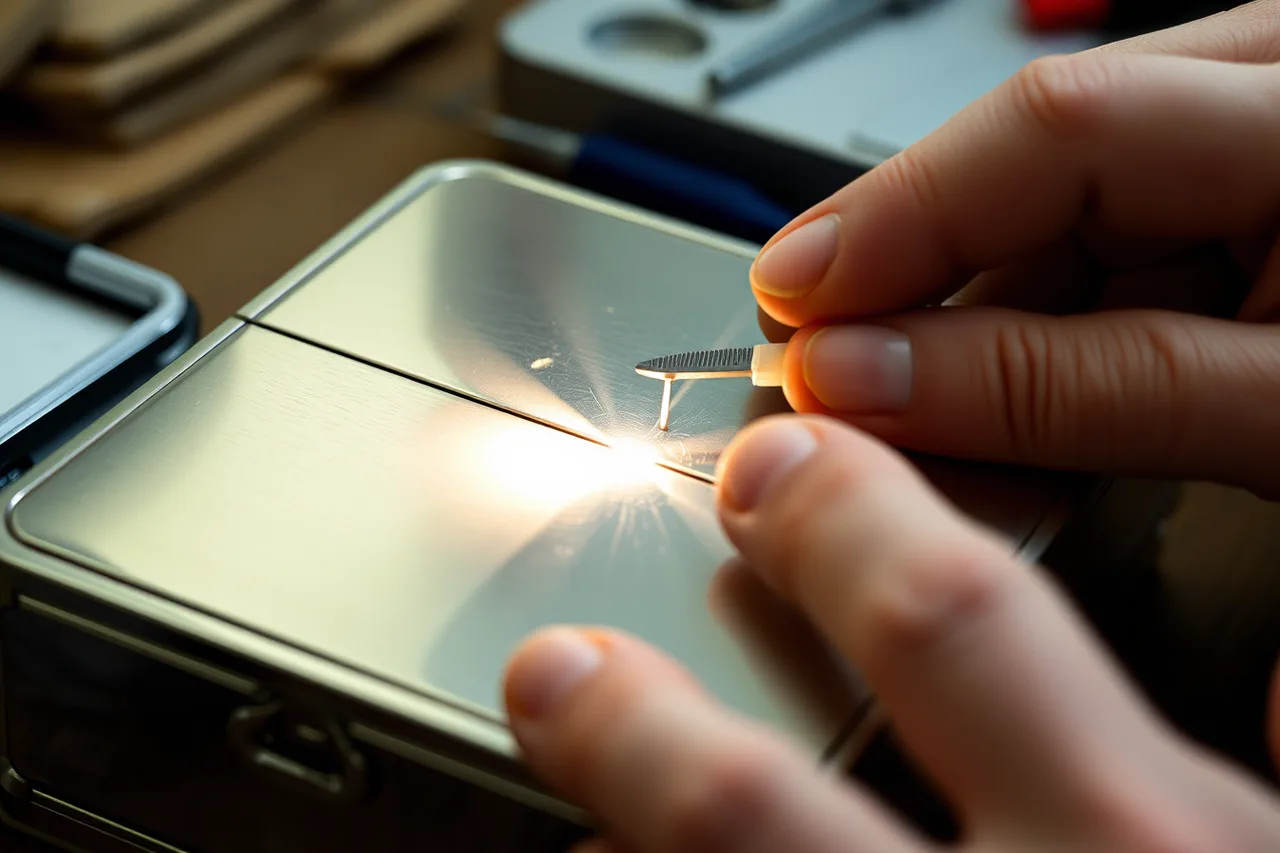
After minimal approved cleaning, a feeler and backlight check show that the middle seam opens when binding is removed. Preheat photographs reveal a narrow light line in the same location. The binding had forced the edges together without correcting their geometry.
Museum records help keep object description separate from fabrication inference. The Metropolitan Museum of Art's French silver box record documents material, dimensions, cultural attribution, and construction as a lidded object. It does not reveal how this fictional practice seam should be soldered.
Set the rework limit
Wall thickness is measured at the seam and reference faces. The drawing permits no point below 0.72 mm. Removing the solder pool and refitting the bowed middle would leave an estimated 0.75 mm at the thinnest point, with a 0.03 mm margin.
Because the margin is small, the instructor authorizes one controlled refit and coupon trial before another heat cycle. Any deeper pit, crack, or low reading ends the repair.
Test the hypotheses
Three coupons use the same sheet, filler, flux, support, and torch system:
- Forced misfit reproduces end flow and a central void.
- Correct fit with an oversized solder amount produces a pool and heavy cleanup.
- Correct fit with measured filler and a revised heat path produces continuous flow without wall distortion.
The trials support a combined cause: poor central fit, too much filler, and a heat path that made the area beside the seam hotter than the seam itself. They do not establish that flux was defective.
Execute and inspect
The box is refitted to a continuous seam without binding force. Solder residue is removed only within the thickness limit. The revised setup stabilizes the walls without masking the joint.
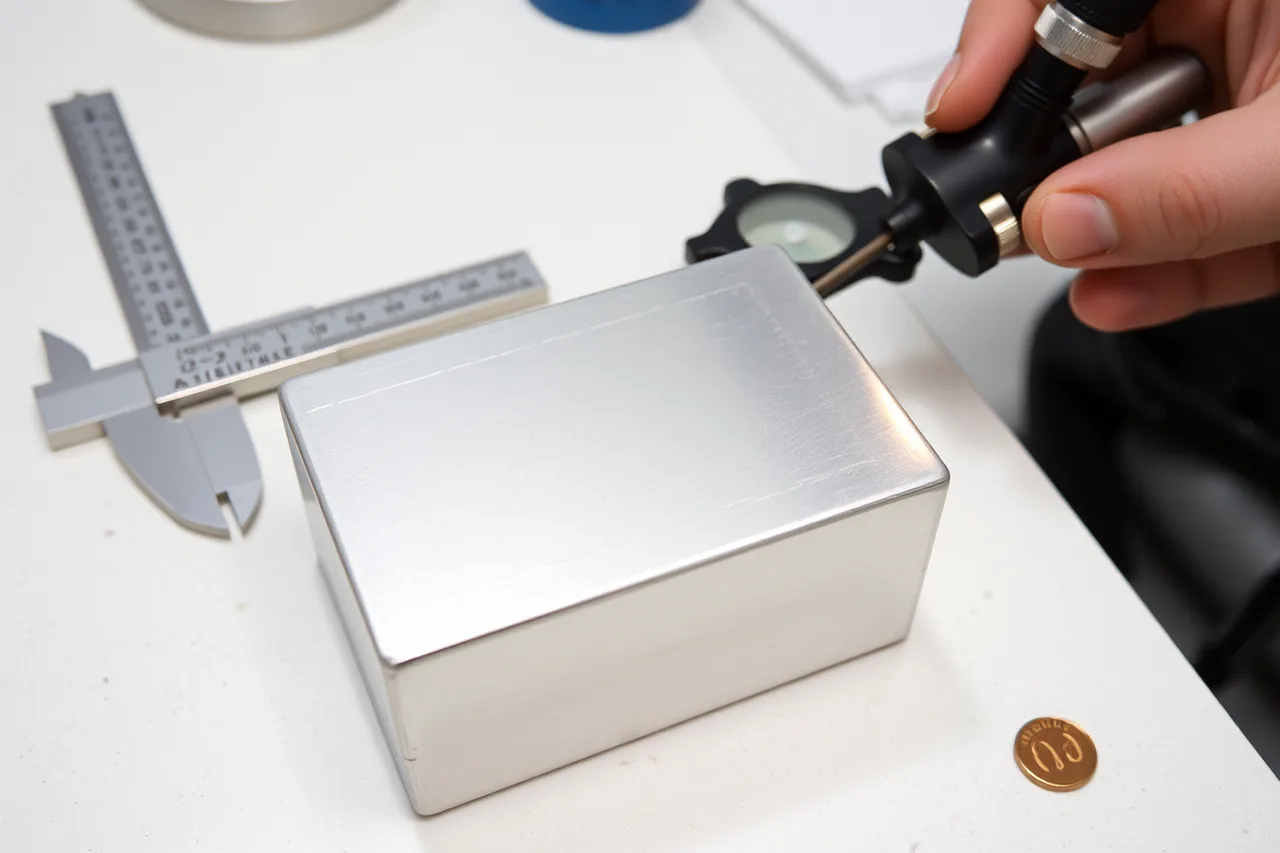
After the approved heat cycle, cleaning, and cooling, the team checks continuity inside and out, squareness, wall thickness, pits, excess solder, firestain, and movement at other seams. The thinnest wall measures 0.74 mm, above the fictional limit.
GIA's article on workmanship investigation describes using manufacturing clues, measurements, and quality benchmarks to assess construction and communicate risk. The box team uses that evidence-led principle, not the article's ring-specific conclusions.
Prevention changes
The shop adds:
- a backlight fit photograph before binding;
- maximum solder mass per seam length for this tested setup;
- wall-thickness readings before and after cleanup;
- a heat-path sketch on the traveler;
- a stop rule for any gap held shut only by force;
- three coupon confirmations after setup changes.
Common questions
Why not reheat the gap immediately?
The gap, displaced filler, and distortion needed diagnosis. Immediate reheating could deepen every fault.
Did the solder pool prove overheating?
No. It showed where filler collected. Heat distribution, placement, fit, and quantity all required review.
Is a 0.74 mm wall always acceptable?
No. It passes only this fictional drawing's 0.72 mm limit.
Would this method apply to an antique box?
Not automatically. Historic objects require a qualified conservator and an approved treatment scope.