Guides
Silver soldering guide: fit, heat, and inspection
This silver soldering guide explains seam fit, controlled heating, workshop safety, and post-cleaning inspection, while treating filler labels as relative.
What to take away
- Fit the seam before you heat it. Solder bridges gaps badly and never fixes poor geometry.
- Record the exact filler, flux and fuel at every seam, because grade words like hard and easy are trade labels, not temperatures.
- Silver pulls heat fast, so a thin edge can overheat while the seam you care about is still cold.
- Capture fumes at the source and check the capture actually works. A duct on the wall proves nothing.
- Inspect both sides of the joint after pickling, and write down what you found.
This silver soldering guide focuses on joint fit, process control, and inspection. In the trade, "silver solder" usually means a precious-metal brazing filler that flows above soft-solder temperatures. The name on the package tells you very little. Get the composition, working range, safety data sheet and supplier instructions for the filler, the flux, the fuel and every cleaning chemical you plan to use.
Decide whether heat is appropriate
Do not torch an unknown or assembled object until you understand how it was built. Cadmium-bearing legacy solder, lead, zinc, nickel, plating, mercury residue, filled handles, adhesives, closed cavities, enamel and heat-sensitive stones all change the decision.
Torch an unknown object?
Unknown or assembled object?
Identify construction first
Proceed with normal soldering
Customer-owned, historic, plated, hollow or high-value work belongs with a qualified repair specialist or conservator. In the US, the American Institute for Conservation keeps a public Find a Conservator directory of professional conservators, and a repairer who handles the metal and stones in your piece daily is often the better choice for a working repair. A test on one surface does not clear every joint in the piece.
Engineer the joint before you light the torch
A sound joint starts at the bench, not at the flame. You need enough contact area, a close and consistent fit for the filler you chose, clean and reachable surfaces, and the parts held steady while they heat.
Leave a path for flux and molten filler, room for thermal movement, and a way to inspect the seam once it is clean.
Solder is not a gap filler. If the seam is wide or irregular, refit it or redesign the connection. A run formed to the wrong length is a return trip with a trailer.
Match filler and sequence
Hard, medium, easy and extra-easy are comparative trade labels. They are not universal temperatures, and two suppliers can ship different recipes under the same word. As a reference point, extra-easy solder contains 56% silver and has a melting point of 618 °C (1,145 °F). Compositions also run cadmium-bearing or cadmium-free, and silver content, flow range and working temperature change with the recipe, so read the data sheet for the batch in your hand. Within one supplier's graded line, hard flows highest and extra-easy lowest, which is what lets a later seam be made without disturbing an earlier one.
Silver solder grades compared
Hard
- Trade label
- Hard
- Flow temperature
- Highest
- Use in sequence
- First joint
- Remelt risk
- Low
- Data sheet needed
- Yes
Medium
- Trade label
- Medium
- Flow temperature
- Middle
- Use in sequence
- Second joint
- Remelt risk
- Medium
- Data sheet needed
- Yes
Easy / Extra-easy
- Trade label
- Easy / Extra-easy
- Flow temperature
- Lowest
- Use in sequence
- Last joint
- Remelt risk
- High
- Data sheet needed
- Yes
Build a solder map for anything with more than one seam. Record the product and batch at every joint. Each later operation needs a safe margin below the joints already made, plus a heat path that will not remelt or weaken them. On a cuff with three seams, that map is the difference between one pass and a rebuild.
Treat flux as a chemical
Flux limits oxidation and helps the filler wet the metal, but only under its stated conditions. Silver brazing fluxes are borax or boric acid sold as cones, powder or a premixed paste, or fluoride-based pastes for heavy oxide and stubborn alloys. Too little, exhausted, displaced, contaminated or mismatched flux leaves the joint unprotected. A borax flux that has gone glassy and clear has stopped protecting, and a fluoride paste that has crusted black is spent. More flux will not correct dirty metal or a bad fit.
Read the safety data sheet and the label before you open the container. NIOSH's archived soldering and brazing health review covers several topics. These include torch processes, fluxes, base and filler metals, and worksite preparation. It also covers ventilation, protective equipment, and first aid. Products and controls vary, so use current product data and a task-specific exposure assessment.
Control heat, not just flame
Silver conducts heat rapidly. A small seam can sit below flow temperature while a nearby thin edge is already discoloring. Mass, support, flame size, torch angle and joint orientation all decide where the heat goes.
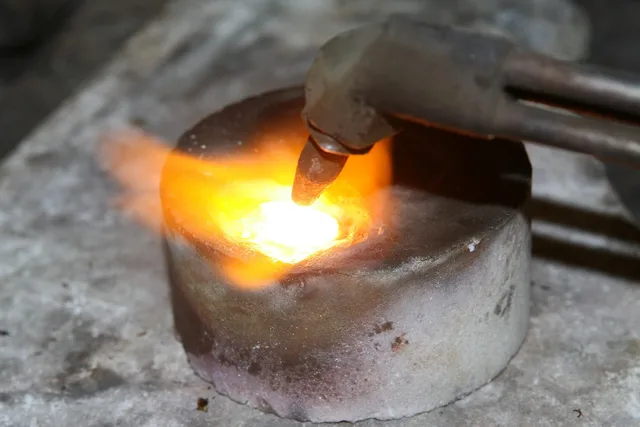
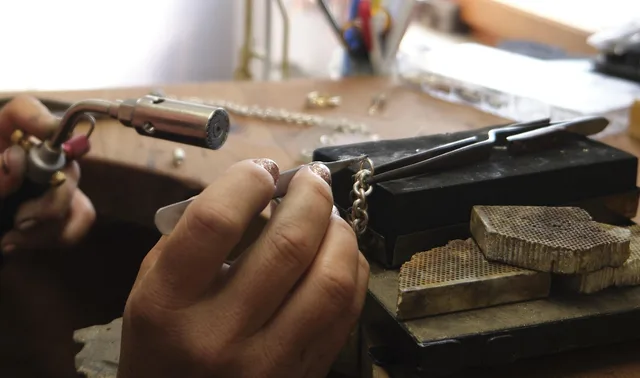
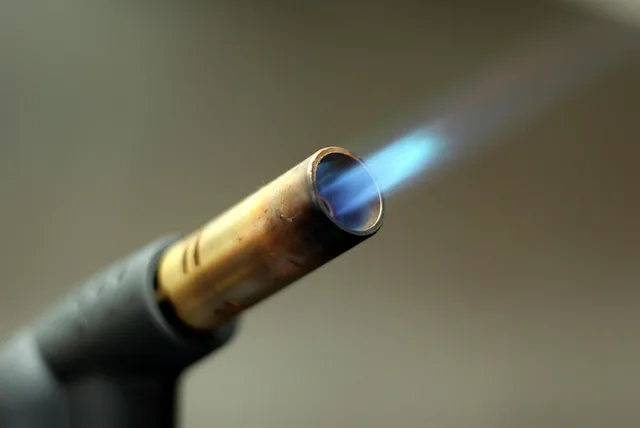
Warm the assembly in a controlled pattern, then concentrate the flame only as the joint approaches its working range. Use a soft, neutral flame: a sharp, hissing oxidizing flame builds oxide, can burn the flux off before the filler ever flows, and overheats thin edges and fine detail. Watch the metal and the flux the way your instructor taught you for that system. Pull the heat the moment the filler has run through the joint.
Never leave a lit torch unattended. Write down the procedure for the fuel system you actually run — air-acetylene, propane or butane with air, oxy-propane, oxy-acetylene or hydrogen — and cover these steps:
- Ignitioncrack the torch valve, hold the striker at the side of the tip, light, then set a soft neutral flame.
- Shutdownclose the torch valve, then the cylinder valve, then bleed the hose.
- Leak-checkbrush soapy water or leak detector on every connection with the valve open, never a flame.
- Cylinder storageupright, secured, valve cap on, away from heat.
- Hose inspectioncheck for cracks, cuts, worn fittings and dated hose before each session.
- Flashback protectionfit the correct arrestor at the torch and at the regulator.
- Emergency procedureshut the fuel off at the source first, and know where the extinguisher sits.
Ventilation and fire controls
Capture fumes close to the source and pull them away from your breathing zone. A visible duct is not proof of effective capture. Commission, position, maintain and test local exhaust against the task and the contaminants in it. General room airflow does not replace source capture where an assessment says you need it.
Keep combustibles out of the hot-work area. Work on a noncombustible surface with suitable fire equipment within reach. Remember how long heat lingers in blocks, binding wire, tweezers and the workpiece itself. Torch soldering counts as hot work: under OSHA 29 CFR 1910.252 a hot work permit is required for brazing, cutting, heating, soldering, welding and similar work, so check the rule where you work before you light up.
Cool, clean, and inspect
Let the assembly cool according to the metal, the construction and the process. Quenching can shock stones, distort a hot assembly, or drive liquid into cavities.
Use pickle or any other cleaner only under its safety data, ventilation, container, tongs, labeling and waste procedure. Most bench pickle for silver is a dry acid powder that makes a sodium bisulfate solution, the chemistry behind familiar products such as Sparex, and it is still an acid that attacks skin, eyes, tools and clothing. A familiar-looking solution is not a harmless one.
Inspect both sides where you can reach them. Record:
- continuous joint evidence;
- alignment and dimensions;
- pits, voids, excess solder and undercut;
- firestain or heat damage;
- movement of earlier seams;
- remaining flux and cleaner residue;
- final disposition and rework limit.
Accept the seam when the filler has run through in a continuous, unbroken line, the parts have held their alignment and dimensions, and every surface you can reach shows no gap, void, undercut or shadow line where the filler failed to wet. Rework or reject on visible porosity, an incomplete run, firestain that will not come out inside the finish allowance, or movement in a seam you made earlier.
Common questions
These are the questions that come up most often at the bench, answered with the same fit, heat and inspection logic used above.
Can solder fill a wide gap?
Do not design the joint that way. Fit requirements depend on the filler and the process, but irregular open gaps need correction before heating. Refit the seam or change the connection.
Is easy solder always safer for a later seam?
No. Check the exact composition, working range, prior joints, heat path and service requirement. A grade word from one supplier does not describe another supplier's product.
Does an exhaust fan guarantee adequate ventilation?
No. Capture depends on placement, airflow, maintenance, the contaminants present and interference from the torch. Have the setup assessed for your task, and follow OSHA and the equipment manufacturer's instructions.
Can a failed seam simply be reheated?
Only after cleaning, refitting, diagnosing the cause, and reassessing earlier joints and heat-sensitive parts. Reheating a dirty or badly fitted seam usually produces the same failure with more oxide on it.
In this guide
- Prepare and solder a controlled silver seam on a couponPrepare a controlled silver seam on a practice coupon: fit, flux, conduction heat, a cut-open check and a bench record you can repeat.
- Hard, medium, easy, and extra-easy silver solder comparedSilver solder grades differ by supplier, not by fixed rule, so compare each alloy's melting range sheet before you buy or plan a joint sequence.
- Silver soldering safety checklist for trained torch useSilver soldering safety checklist for trained torch users, covering equipment, work area, joint checks, heating, shutdown, cleanup, and release inspection.
- Silver soldering problems: diagnose failed jointsSilver soldering problems can involve poor fit, flux, filler, heat, or contamination. Learn how to inspect failed joints and assess rework risks.
- Diagnosing a failed sterling-silver box seam caseFailed silver box seam case using intake records, defect maps, fit and heat evidence, measured rework limits, coupon trials, inspection criteria, and prevention.