Rules
Part of Silver surface decoration guide: chasing and engraving
Silver stamping problems: double strikes, drifting patterns and uneven depth
Silver stamping problems guide for double strikes, drifting patterns, torn edges, distorted sheet, uneven depth, evidence checks, controlled trials, and rejection.
What to take away
- Stop at the first unexplained defect and preserve the face, reverse, support, tool, and layout evidence.
- A darker or deeper mark does not identify the cause by itself.
- Separate registration faults from tool, support, stock, force, and sequence faults.
- Test one suspected cause at a time on matching scrap.
- Reject work when correction would cross a minimum section, protected zone, or approved appearance limit.
Decoration defects often share symptoms. A partial stamp may come from tilt, a damaged face, uneven support, work movement, or a weak off-center strike. The response should begin with observation, not an immediate second blow.
Freeze the condition
Stop the sequence. Do not polish, flatten, deepen, file, or redraw the mark. Photograph the face and reverse under normal and raking light with scale and orientation. Record the tool ID, support, coordinate, work orientation, strike count, and operator observation.
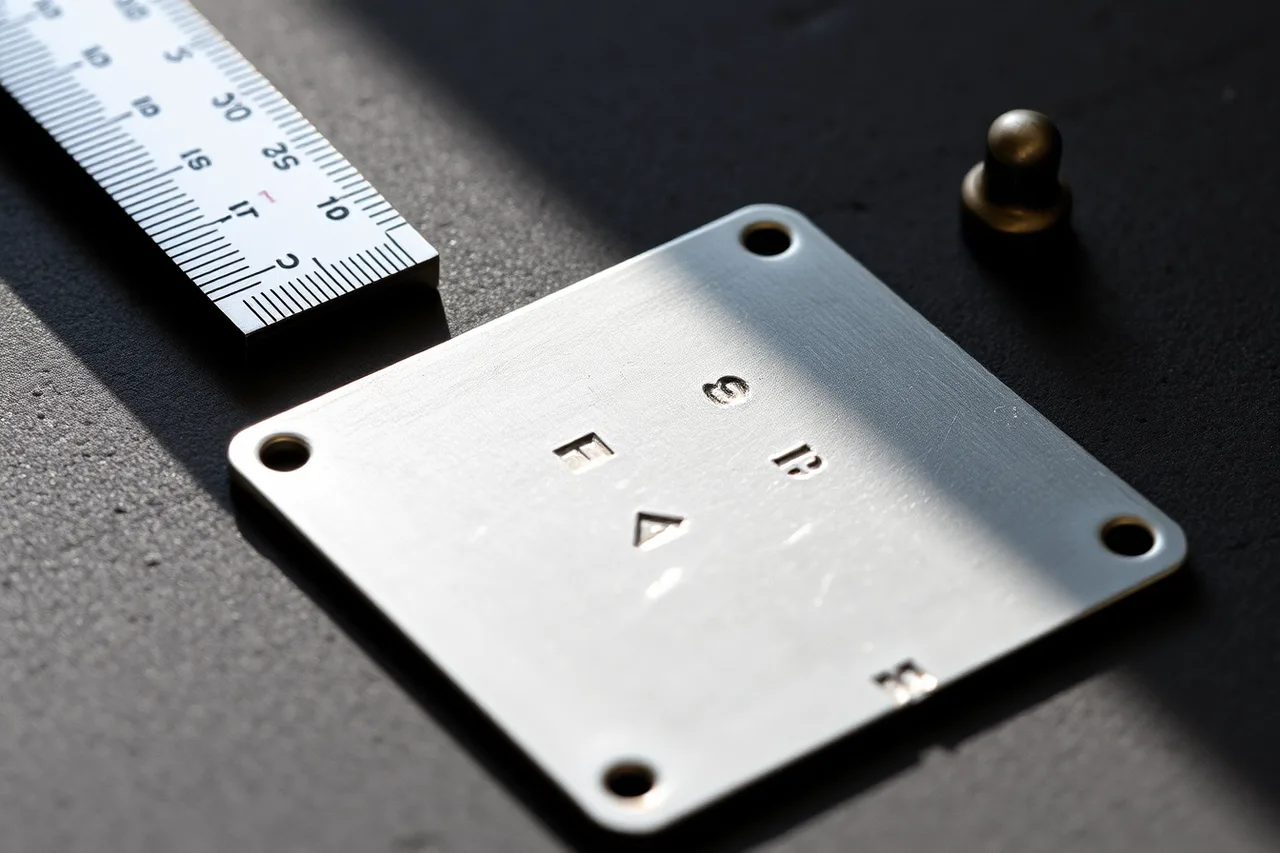
Inspect nearby impressions in sequence. A change that begins after the panel was rotated points to a different cause than drift that grows steadily from the first mark.
Double strikes
A double strike shows two displaced outlines or an enlarged uneven profile. Likely causes include:
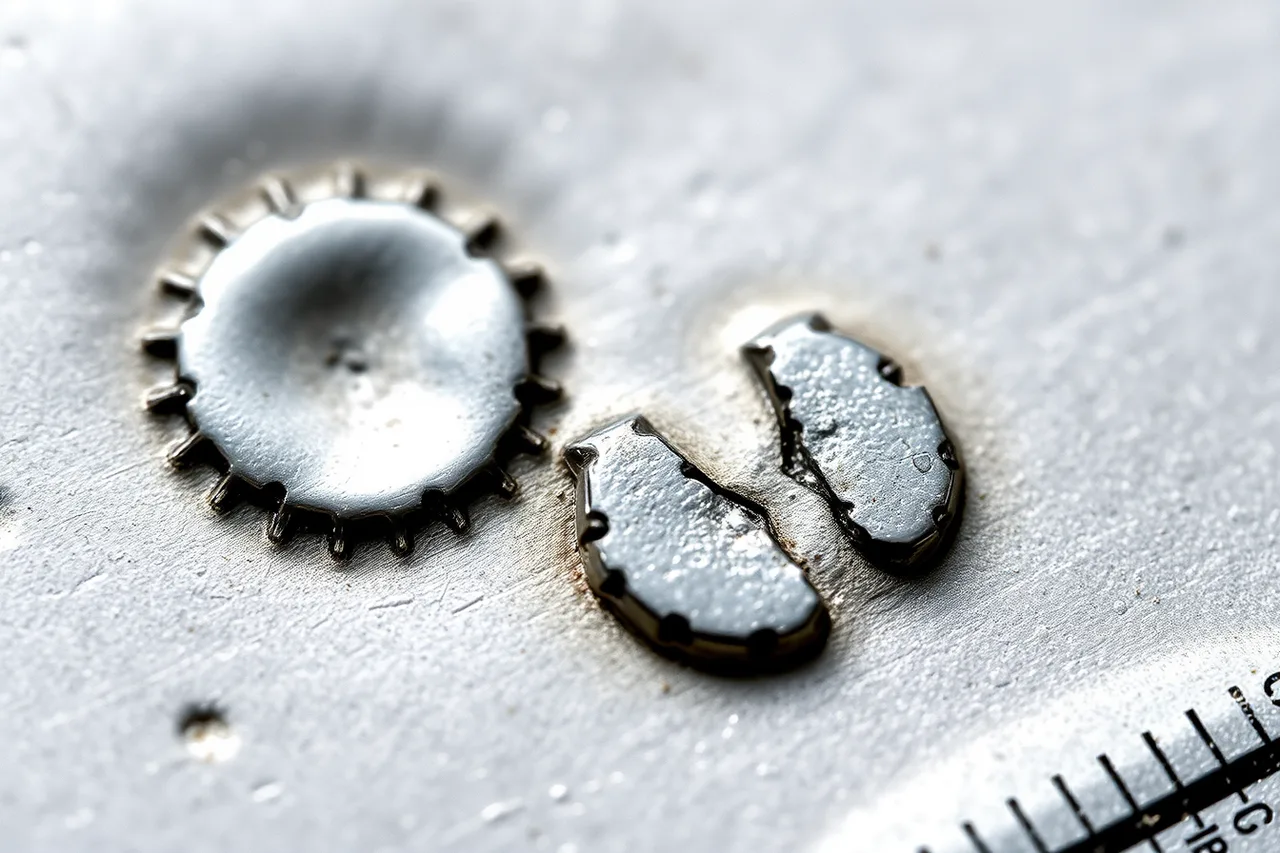
- the stamp bounced or moved between blows;
- the work or support shifted;
- a second blow was attempted without exact registration;
- the operator changed angle during contact;
- the hammer met the struck end off center.
Maine's SafetyWorks guidance says to use the right hammer, keep it in good condition, concentrate on the striking point, and strike blows as squarely as possible. Those are safety controls, not a promise that a jewelry impression can be safely restruck.
Do not deepen the neighboring marks to make the double look intentional unless a revised drawing, sample, section check, and approval support that change.
Drifting patterns
Measure every motif center from the original datum. Do not measure each new mark only from the previous one. Classify drift as:
| Drift pattern | First checks |
|---|---|
| Steady cumulative shift | Pitch calculation, divider setting, end allocation |
| Sudden step | Work movement, rotation, wrong reference line |
| Alternating error | Tool orientation, viewing angle, left-right registration habit |
| Curved baseline | Panel movement, distorted guide, inconsistent edge reference |
If the end margin is already below its limit, stop. Tightening the remaining spacing usually makes the defect more visible and breaks the drawing.
Torn edges and cut boundaries
Tearing can begin at a thin edge, deep impression, sharp stamp feature, graver slip, existing crack, inclusion, or work-hardened zone. Inspect both ends of the tear and the reverse. A dark line should be treated as a possible crack until magnification and cleaning under an approved method show otherwise.
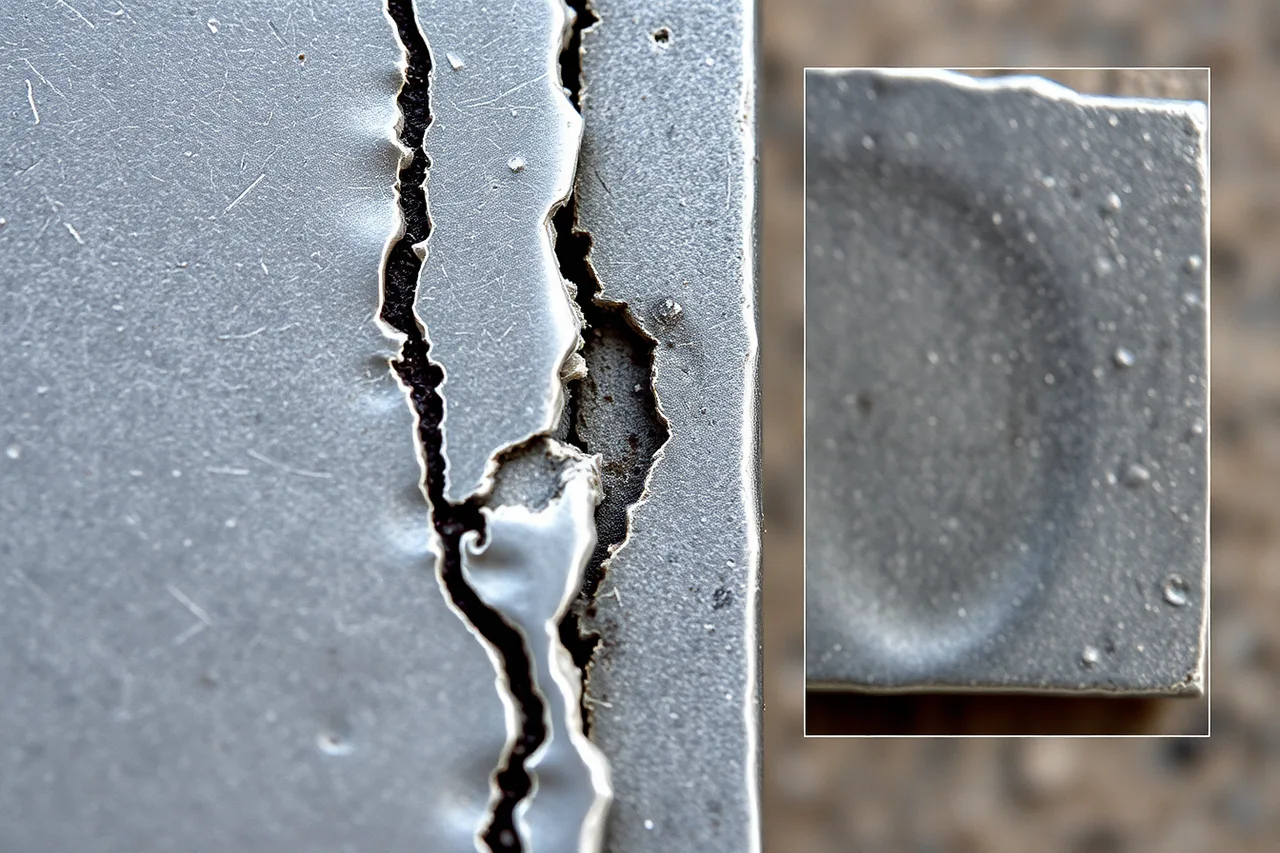
Do not burnish a crack closed. Determine whether the part can be trimmed within the drawing, repaired under an approved metallurgical plan, or rejected.
Distorted sheet
Map the released panel against a surface plate, template, or named gauge. Record where curvature begins and whether it follows the stamped field, unsupported area, edge, or prior forming.
NIST defines springback as the elastic change in shape after a part is released and ties its magnitude to material properties and strain history. Its program concerns formed sheet components, not a correction allowance for decorated sterling silver. The useful lesson here is to measure the unsupported shape rather than judge the panel only while it is clamped.
Flattening may spread, blur, or crack impressions and can change thickness. Test a qualified correction on matching decorated scrap before considering it on the work.
Uneven depth
Compare depth by coordinate and sequence. Check:
- stamp face condition and orientation;
- hammer contact and action count;
- support cleanliness and local compliance;
- stock thickness and temper variation;
- nearby edges, openings, joints, or prior decoration;
- operator posture and visibility.
Do not assume force is the only variable. A deep mark beside an edge may also reflect reduced support.
Controlled diagnostic trial
Create matching coupons and change one factor per row. Keep the accepted condition as the control. Record the face, reverse, released shape, and dimensions after each trial. If the defect cannot be reproduced or separated from other causes, hold the job rather than selecting a correction by guess.
Common questions
Can a light stamp always receive one more blow?
No. Registration, remaining depth, reverse condition, and distortion must all permit it.
Should I polish out a doubled edge?
Only under an approved material-removal limit. Polishing can widen the mark and reduce surrounding thickness.
Why did the pattern curve away from the baseline?
Check the original datum, panel movement, edge straightness, work rotation, viewing angle, and released distortion.
Is a warped panel automatically scrap?
Not automatically. Measure it against the drawing, then evaluate whether a tested correction can preserve the pattern, section, and construction zones.