Maintenance
Part of Silver sawing and piercing guide: layout, bench pin, turns and cleanup
Saw frame, blade and bench pin checklist before cutting
Check the saw frame, blade clamps, tension and bench pin before the first cut, plus the stop signs that mean fix the setup instead of pushing harder.
What to take away
- A straight frame and clamps that hold are the base of every clean cut.
- Match the blade to the stock and the smallest curve, with the teeth facing the cutting direction.
- Tension must be consistent, and sound alone does not settle it.
- The bench pin must not move, and its cutout must support the work close to the blade.
- A slipping clamp, a binding blade or poor visibility means stop, not push harder.
This station check covers manual sawing after hands-on instruction. It does not authorize powered cutting, drilling, or work on unknown, historic, hazardous, or high-value objects. Run it at the start of every job, because the saw you left set up last time may not be the saw you have now.
Check the frame and clamps first
Inspect the frame and clamps before the blade goes in, because they decide how the blade sits for the whole cut. The frame must be straight enough for the intended work, and both the handle clamp and the blade clamp must be secure and undamaged.
| Part | What to check | Stop if |
|---|---|---|
| Frame | Straight enough for the intended work | The blade cannot sit in one plane |
| Handle clamp | Secure and undamaged | It slips under load |
| Blade clamp | Secure, with a sound edge and true alignment | The blade keeps breaking at the same clamp |
| Blade | Straight, clean, no damaged sections, right size for the stock | Any section is damaged |
| Tension | Consistent, blade tracks in one plane | It changes from stroke to stroke |
| Spares | Spare blades and a safe broken-blade container to hand | Either is missing |
Spare blades and a safe container for broken pieces belong on the bench before the first stroke, not after the first break. A snapped piece left on the floor or in the work is a hazard, so every fragment has to be accounted for at closeout.
Do not continue with a clamp that slips under load. A blade that repeatedly breaks at the same clamp calls for inspection of the clamp edge, alignment, and installation method.
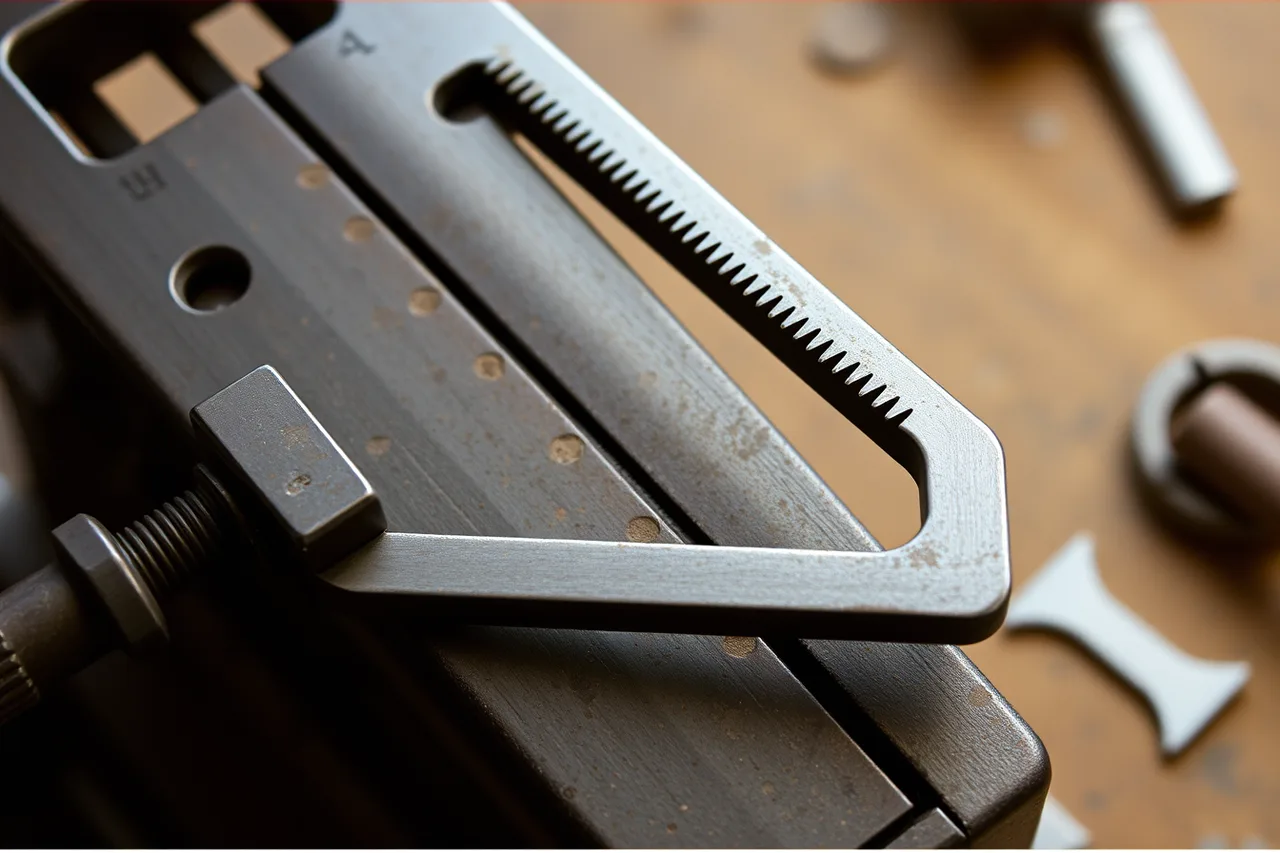
When the same clamp keeps breaking blades, diagnose saw problems at the clamp rather than fitting another blade and carrying on. The clamp edge, the alignment, and the installation method are the three places to look, and a fresh blade alone leaves the cause in place.
Install the blade and set the tension
Install a straight, clean blade with the teeth facing the cutting direction your technique specifies, then tension it so it tracks in one plane. Consistency matters more than feel: follow the frame and blade maker's guidance and a trained setup, because sound alone does not decide it.
- Inspect the blade for straightness, cleanliness, and damaged sections, and replace one that fails.
- Confirm the size suits the stock and the smallest curve in the pattern.
- Seat it with the teeth facing the cutting direction for your technique.
- Tension it by the maker's guidance and confirm it tracks in one plane.
- After threading through a starter hole, retension before the first stroke.
Blade size is a decision about the work, not about the saw. Choose it for the stock in the frame and the tightest curve the pattern needs, then keep a spare of the same size beside the frame so a break costs a minute and not a change of setup.
Make the bench pin part of the fixture
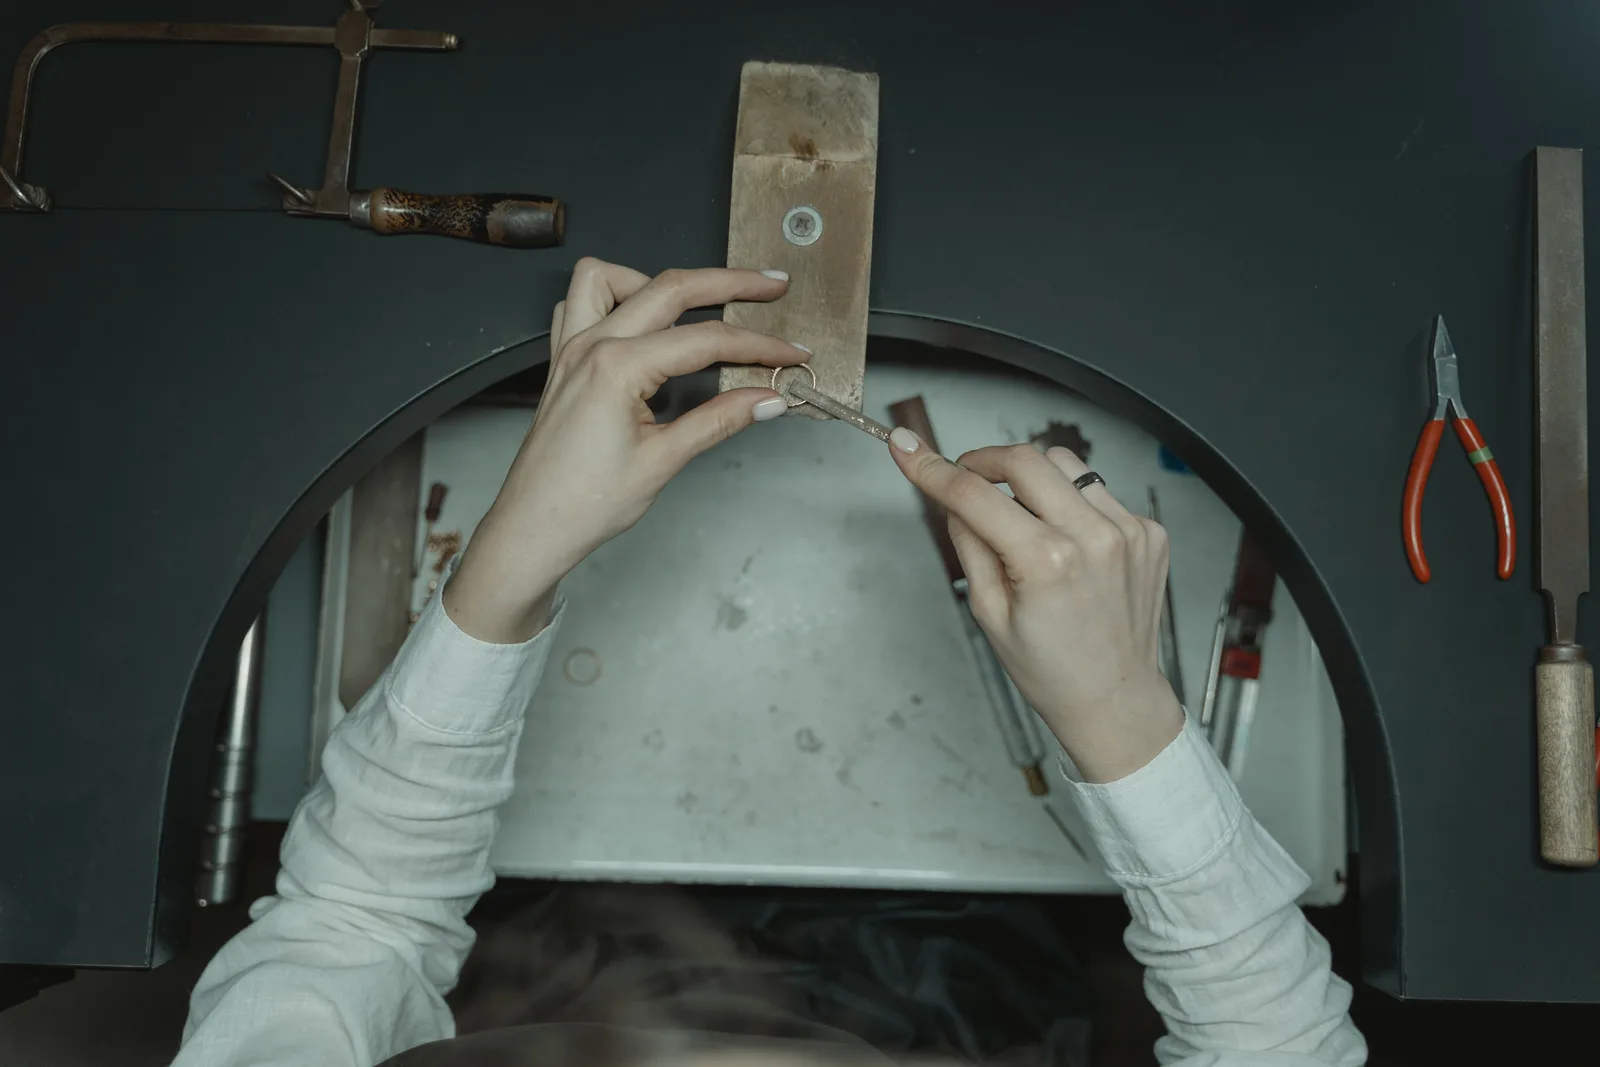
The bench pin must not move during the cut. If it shifts, stop and secure or replace it, because cutting around a wobbling pin only moves the error into the work. Check these three things before the blade touches metal, and fix any that fail:
- The cutout supports the work close to the blade.
- The work does not rock on debris or a damaged surface.
- Lighting shows the tooth line without glare.
GIA's bench-pin ergonomics lesson shows that a bench pin can be modified for specific holding and cutting tasks. Treat any modification as a designed fixture rather than a quick fix: preserve strength, secure it, smooth hazardous edges, and test the work position before use.
Set the body and clear the blade path
Seat height should allow a relaxed shoulder and near-vertical saw motion, with feet and chair giving a stable position. The free hand stays beside the work and out of the blade path. Reposition before the arm, wrist, or view becomes awkward, instead of working through the strain.
Hair, sleeves, cords, and jewelry are controlled before the saw moves. A cut you cannot see is a cut you cannot steer, so the light matters as much as the pin. The shop-wide bench safety checklist covers the rest of the setup.
When the setup tells you to stop
Stop the cut when the blade binds, visibility fails, or the support moves. More force is not a correction. Each fault points back to one part of this check, so return to that part and fix it before the next stroke.
Fault / Go back to
- Blade binds
- Blade size, tension, clamp security
- Visibility fails
- Lighting, glare, seat height
- Support moves
- Bench pin security, debris under the work
When every check passes, piercing a clean interior shape shows the cut itself on sheet silver, once the setup is proven. Keep the setup note short: the blade used, the support, and anything you had to change to make the cut safe.
Reset the bench before filing
Filing starts only after the cut is measured and the saw station is safe. Mark high spots, preserve low spots, protect adjacent faces, and clear chips safely rather than brushing them by hand. Filing can only remove metal, so measure first.
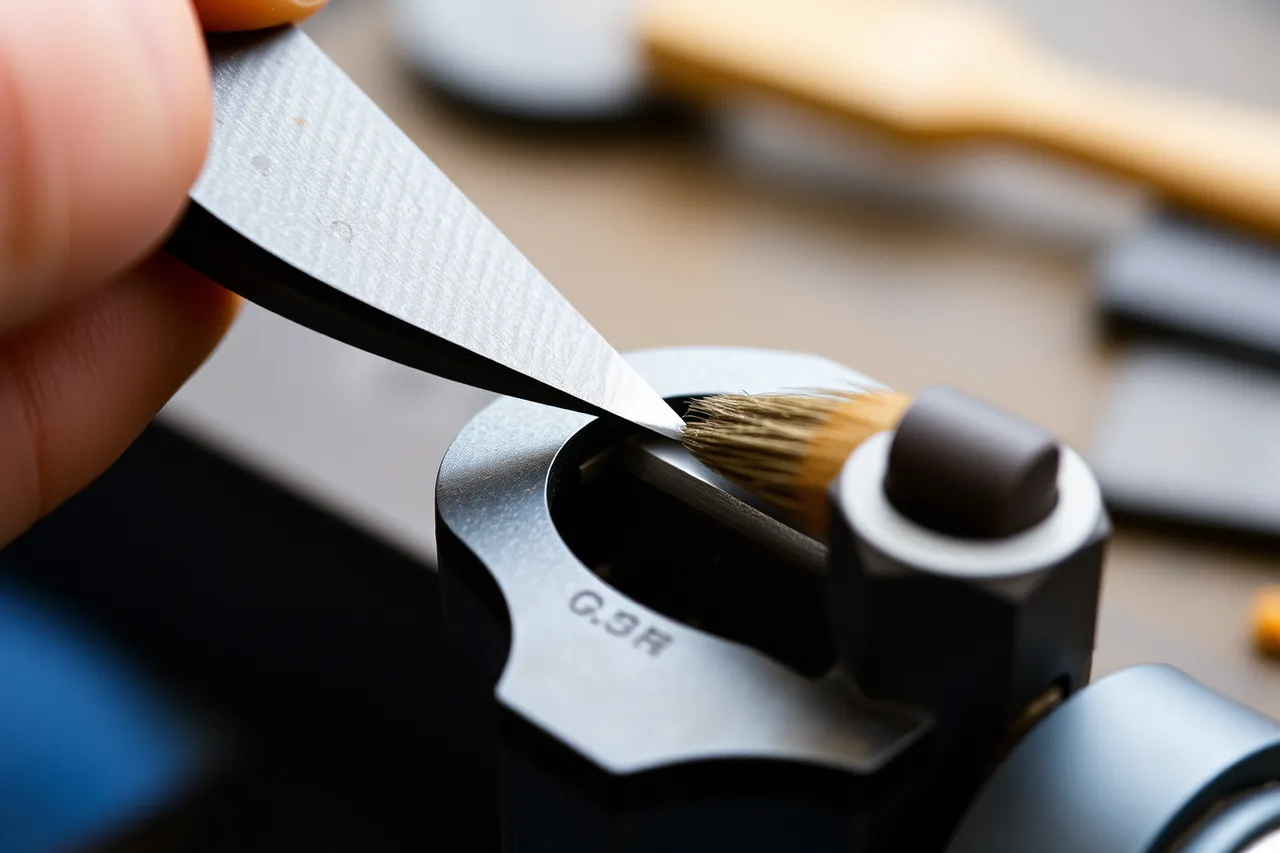
Close the station by accounting for broken blade fragments, sending filings to the correct sweeps or waste stream, and storing or unloading the frame according to shop practice. For layout, turns and cleanup technique, the sawing and piercing guide goes further.
Repeat work needs a record of the actual stock, blade, support, allowance, fault, and correction. If scrap or filings are ever weighed for a sale, NIST Handbook 44 is the US reference for the specifications and tolerances of commercial weighing and measuring devices. File the entry with the job's stock record.
Common questions
How tight should the blade be?
Follow the frame and blade maker's guidance with a consistent, trained setup, and do not rely on sound alone.
Should the bench pin move at all?
No. Any movement the cut did not intend means stopping to secure or replace the pin.
What if blades keep breaking at the same clamp?
Look at the clamp edge, alignment, and installation method before fitting another blade.
Can I keep cutting with a clamp that slips?
No. Stop and correct the clamp first, because it will not hold under load.