Features
Part of Stone setting in silver guide: planning a setting
Rebuild undersized silver bezel: replacement decision
Rebuild undersized silver bezel: a fictional case records the mismatch, why stretching was rejected, and how the replacement setting was inspected.
What to take away
- This fictional case replaces an unsafe undersized bezel instead of stretching it around the stone.
- Measurements showed both a perimeter mismatch and an incorrect wall profile.
- The old bezel was removed before the cabochon entered the mounting.
- A practice stone and bezel proved fit, wall movement, finish, and security.
- Final acceptance covered stone condition, setting contact, backing, pendant structure, and care records.
The workshop's brief was “rebuild undersized silver bezel”: a silver pendant was being fabricated around an oval cabochon supplied by a client. The first bezel had already been soldered to its backing when dry fitting showed that the stone would not enter without force.
All names, dimensions, tolerances, and outcomes below are invented for instruction. This is not a repair order for a real stone.
Intake and mismatch
The cabochon measured 18.42 by 13.16 mm at its widest points. Its edge was not vertical: one long side flared outward by about 0.18 mm above the back. The stone also had a small pre-existing abrasion at the northeast edge, recorded before work.
Stone vs bezel mismatch
Cabochon
- Length
- 18.42 mm
- Width
- 13.16 mm
- Flare
- 0.18 mm
- Contact
- both ends
Bezel interior
- Length
- 18.18 mm
- Width
- 12.93 mm
- Flare
- none
- Contact
- flared side
The finished bezel interior measured 18.18 by 12.93 mm. Blue transfer on a dimensional surrogate showed contact at both ends and the flared side before the base reached its backing. The wall was therefore short in perimeter and wrong in section.
Why stretching was rejected
The team considered expanding the bezel on a mandrel, thinning the inside wall, opening and patching the seam, and replacing the bezel. The first three choices were rejected because they could leave variable thickness, an unplanned joint, poor contact at the flare, or less metal for closure.
Rejecting correction options
Stretch on mandrel?
variable thickness risk
Thin inside wall?
North Bennet Street School describes its bezel-ring course as making, soldering, and setting an oval cabochon in a handmade bezel and requires prior sawing, filing, flex-shaft, and jewelry hand skills. That scope supports treating the job as skilled fabrication, not forcing an undersized part to fit.
The general rule behind the decision is simple. Stretching can only add perimeter; it cannot correct a wall whose profile is wrong for the stone, and every pass on the mandrel thins the strip. When the shortfall comes with a wrong section, as here, the honest fix is a new bezel.
Materials and tools for a rebuilt bezel
The replacement followed common bench practice rather than anything unusual:
- Bezel strip.Fine silver bezel strip is the usual choice for a cabochon because it is softer than sterling and moves over the stone with less force. Sterling suits a backing or frame that must stay stiff.
- Solder order.The bezel seam is joined with hard silver solder, and the bezel is attached to the backing with a lower-flowing grade such as medium or easy, so the seam does not reopen when the second joint is heated.
- Cleanup.After soldering, the work goes through pickle and a rinse, and any solder inside the seat is removed before the stone is tried.
- Setting tools.A bezel pusher or bezel rocker moves the wall at opposing points, and a burnisher smooths the closed edge against the stone.
The replacement decision was made before the real stone entered the silver. The existing backing had enough thickness to remove the bezel within a documented cleanup allowance, but the pendant frame and bail needed protection.
Removal plan
The team photographed and measured the pendant. A protected boundary was marked around the frame. The old bezel wall was cut down and removed in sections without heating the stone because the stone was not in the mounting.
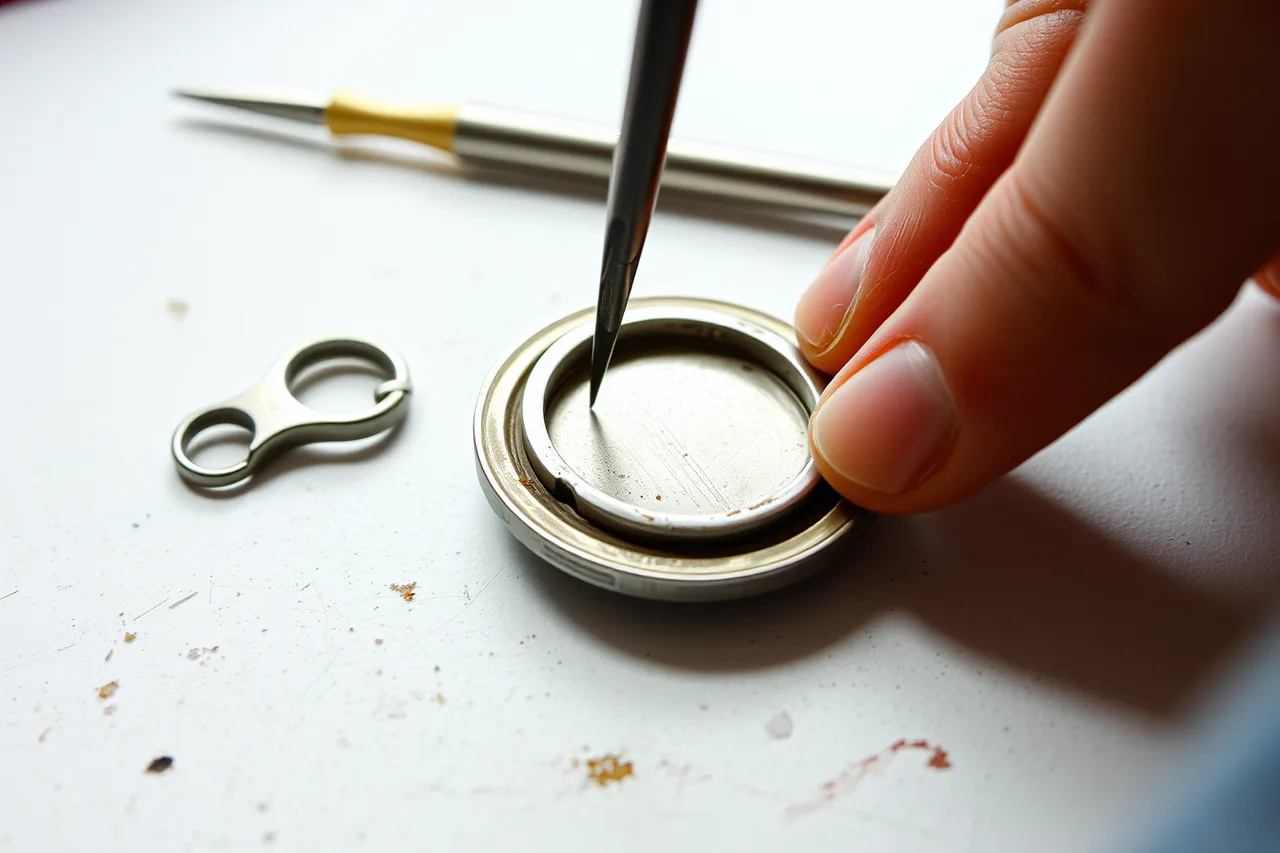
The backing was refinished only to the stated flatness and minimum thickness. Magnification showed no cut into the frame, remaining wall, or bail junction. The work was held when a dark line appeared near the prior seam; cleaning showed it was residue, not a crack.
New profile and samples
The revised drawing used measured wall lengths from a development around the actual profile, plus the qualified seam allowance. Wall height was mapped at eight positions to provide the approved contact while avoiding the abraded edge.
Practice bezel results
First practice
- Fit
- passed
- Ripple
- at tight curve
- Development
- original
- Seam
- not passed
- Backing contact
- not passed
- Wall height
- not passed
Second practice
- Fit
- passed
- Ripple
- none
- Development
- corrected
- Seam
- passed
- Backing contact
- passed
- Wall height
- passed
A University of Idaho library document describes a bezel as a band surrounding a cabochon whose upper part folds around the stone's sloped edge. That general description fits the holding concept, but it does not provide this case's alloy, measurements, soldering plan, stone limits, or security standard.
Two practice bezels were built around a hard dimensional surrogate. The first fit but showed a ripple at the tight curve after closure. The second used a corrected development and passed interior fit, seam, backing contact, wall height, closure pattern, minimum section, and finish.
Fabrication and empty-setting inspection
The new bezel was formed, joined, and attached under the approved silver-soldering procedure. After cleaning, the empty setting was checked for:
- interior dimensions at eight points;
- wall continuity and seam condition;
- backing flatness and minimum thickness;
- absence of solder or burrs inside the seat;
- frame and bail alignment;
- protected surface condition.
The real cabochon then entered under a lined-tray protocol. It reached the backing without pressure, rocking, or binding. It was removed once for final cleaning before the setting stage.
Setting and release
The accepted practice sequence moved the wall at opposing points, then filled the intervals. Inspection paused before contact approached the recorded abrasion. The wall was kept below that vulnerable region while maintaining the revised security design.
Final checks found no new stone damage, open wall gap, fold, sharp edge, trapped residue, frame distortion, or loss below the minimum section. The pendant passed its non-damaging security test and snag inspection.
The job packet retained the original failed bezel, measured mismatch, intake images, removal map, revised development, two practice results, setting sequence, final photographs, and stone-specific care limits.
What changed in the workshop
- Cabochon profiles were measured before bezel wall was cut.
- A dimensional surrogate became mandatory for first fitting.
- Asymmetry and edge damage were transferred to the bezel drawing.
- Dry fit occurred before the bezel was attached to finished surrounding work.
Common questions
Why not press the cabochon into the first bezel?
The stone bound before reaching its support, creating a risk of edge damage and a poor final seat.
Could the old bezel wall have been stretched?
Not within the case limits. Stretching risked uneven section, wrong profile, and inadequate closure metal.
Was the backing replaced too?
No. It passed the cleanup, flatness, thickness, and structural inspections after the old wall was removed.
Does every undersized bezel require replacement?
No. The choice depends on mismatch, profile, material, construction, correction limits, and stone risk. This case supported replacement.